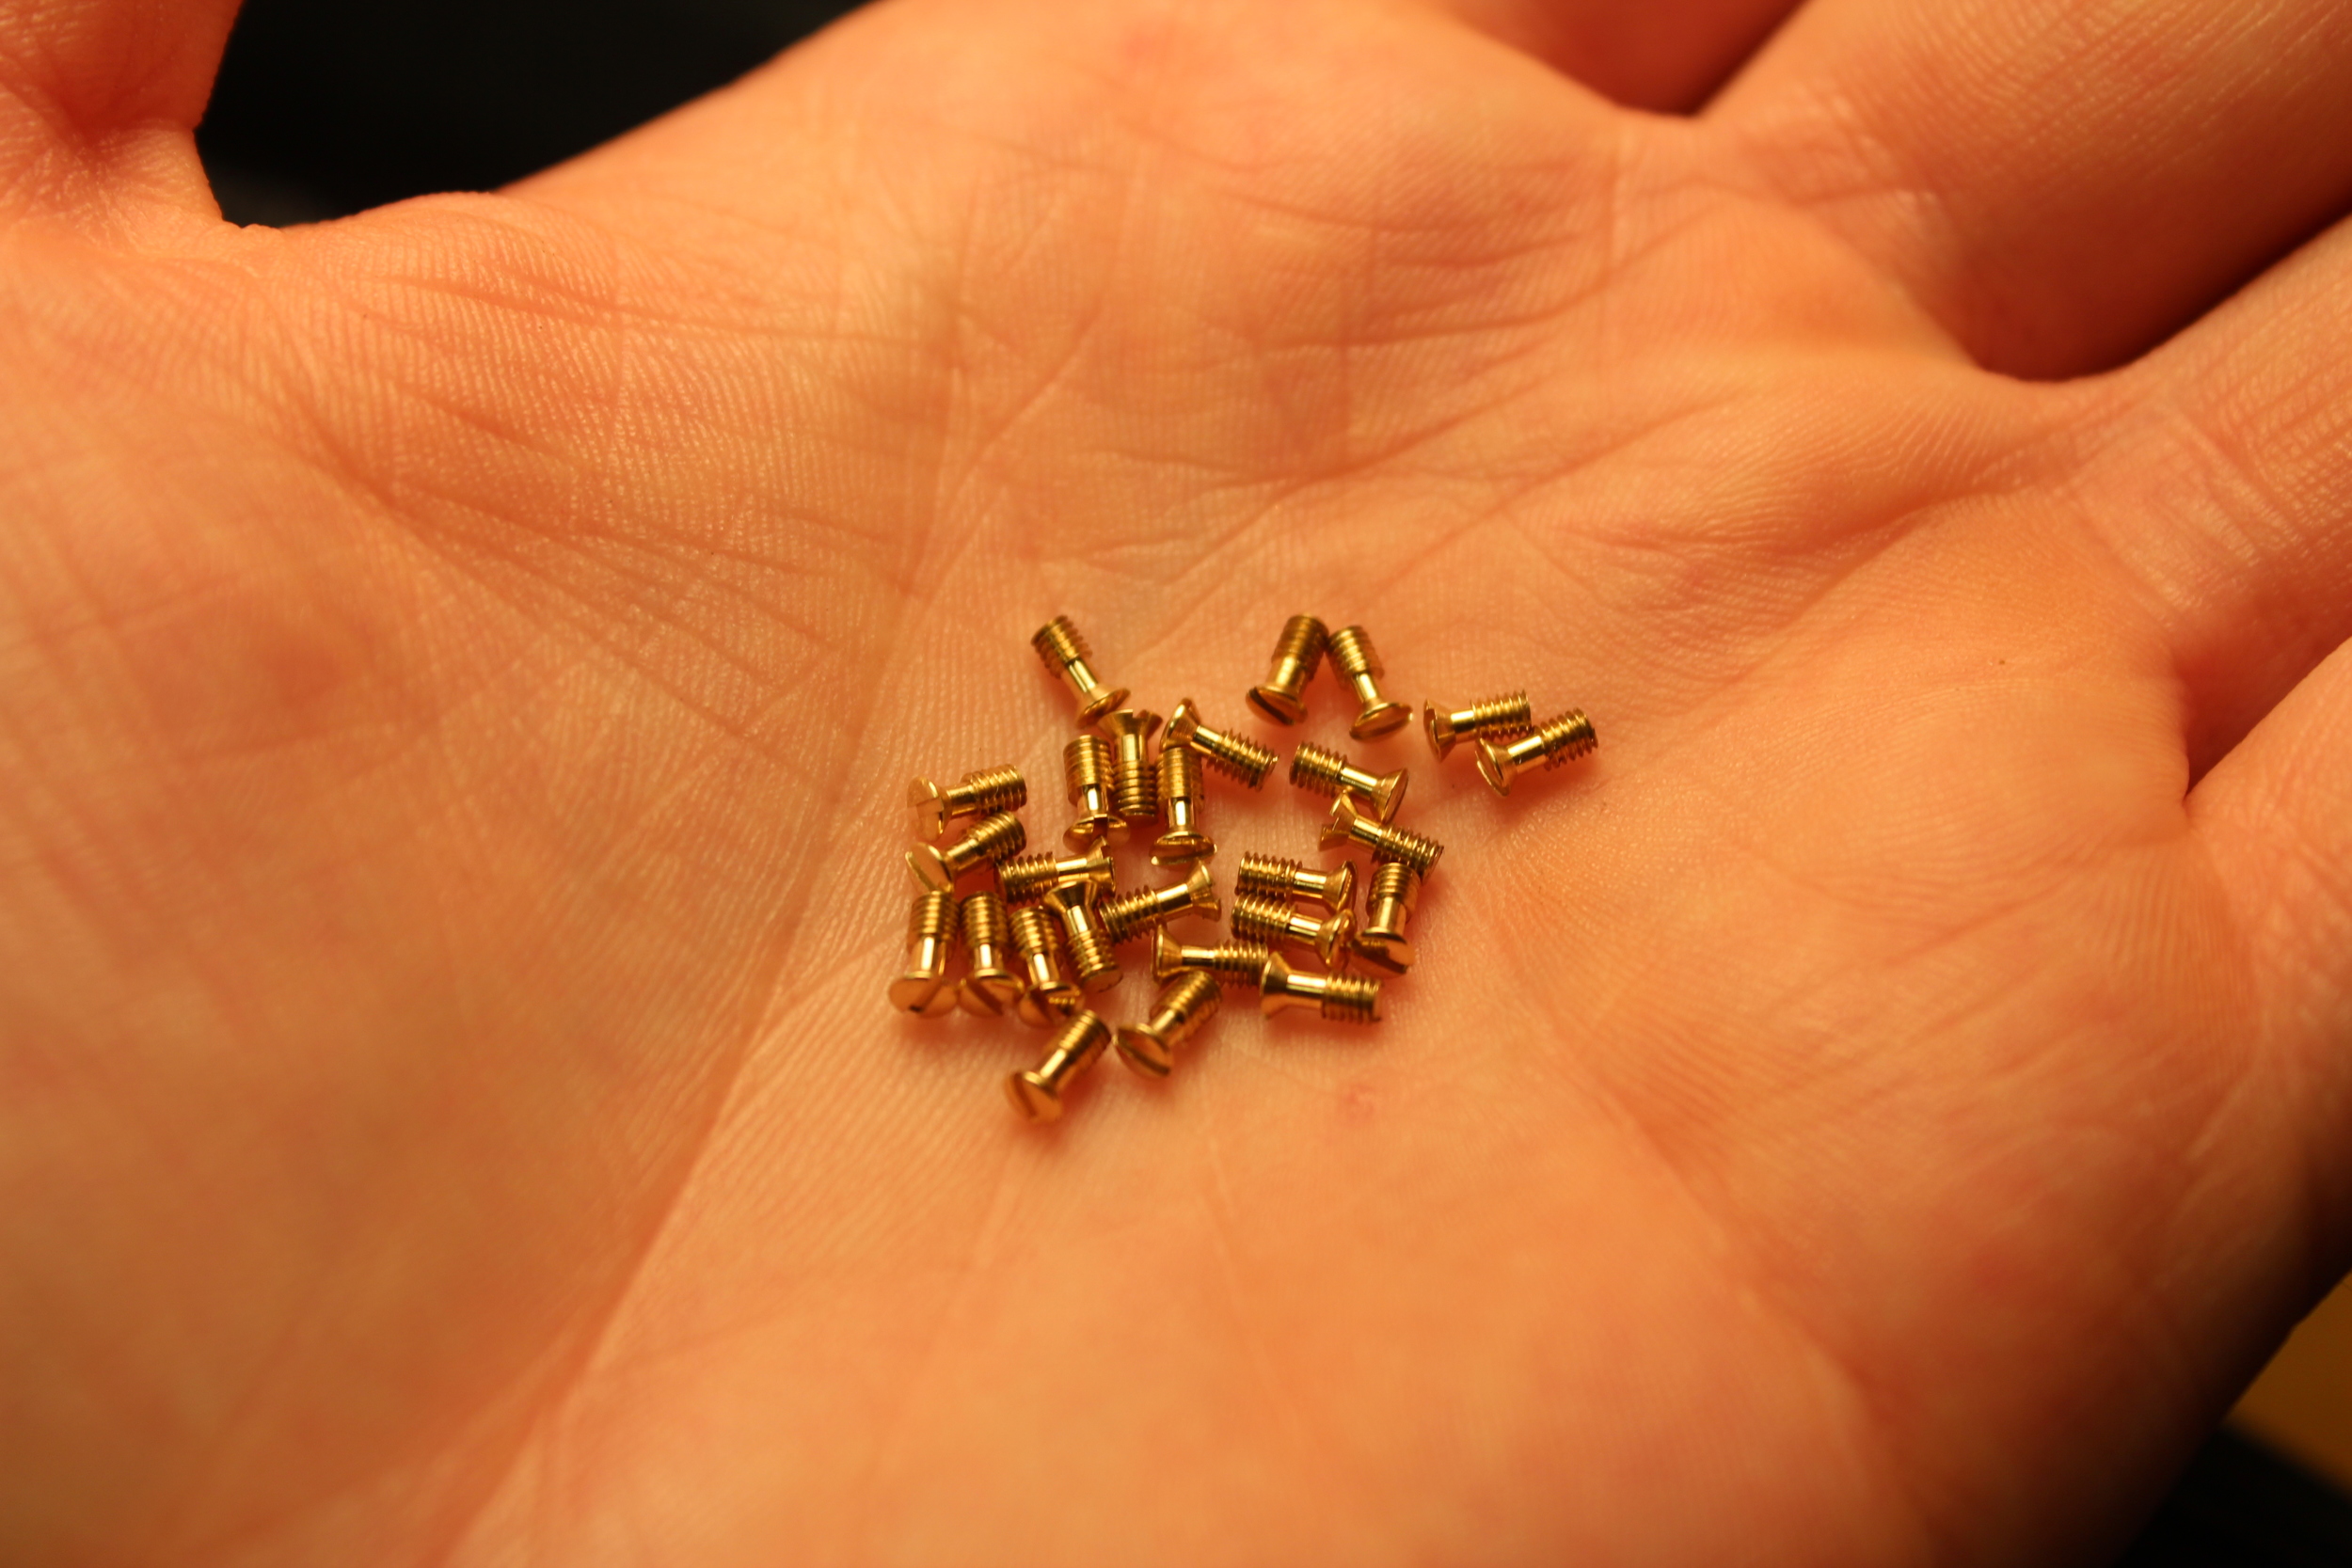
Cap screws.
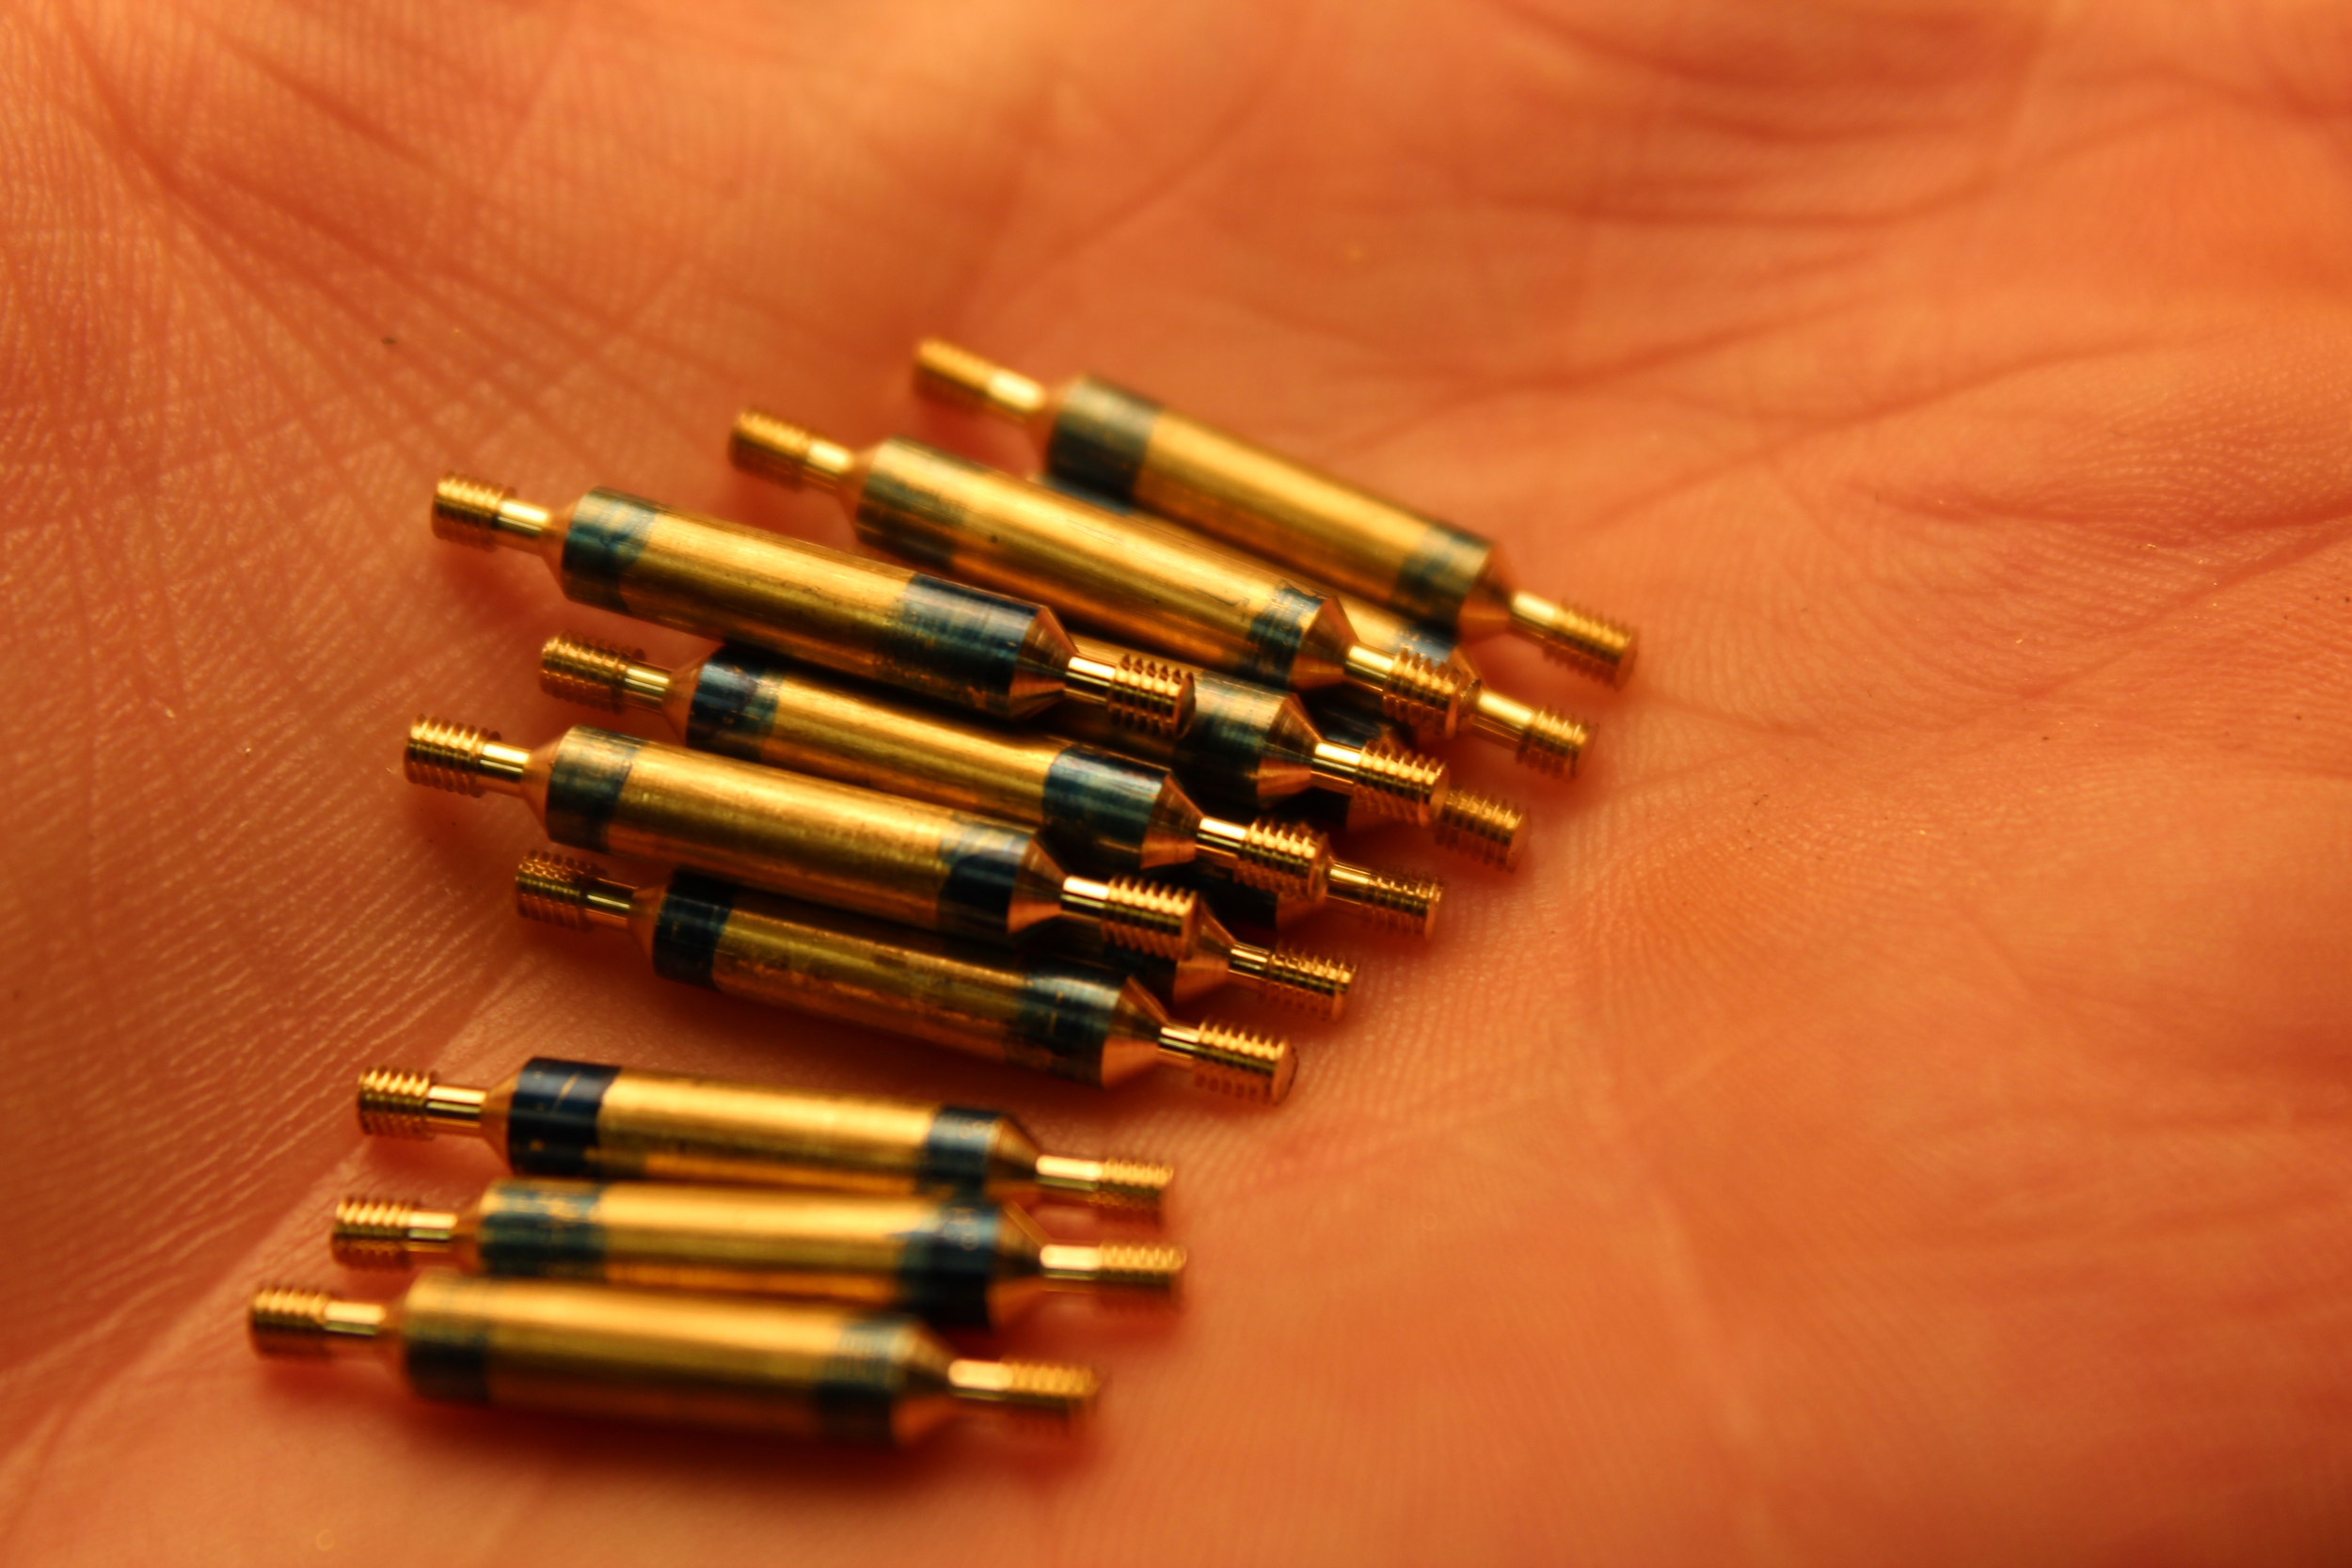
The cap iron puts a good amount of force on the cap screw when the blade is tightened down. After I scaled the measurements I decided to make the screw one size bigger just in case, it came out to a 1-72. The process is very similar to the last post, so I am going to leave this as mostly pictures. I first blanked out the screws using the digital readouts on my lathe for repeated accuracy. I turned two on each piece. Started with 1/8" free machine brass.

The thread was cut single point in 4-5 passes. I use the digital readouts , or hand wheel graduations to keep track of where I am at.
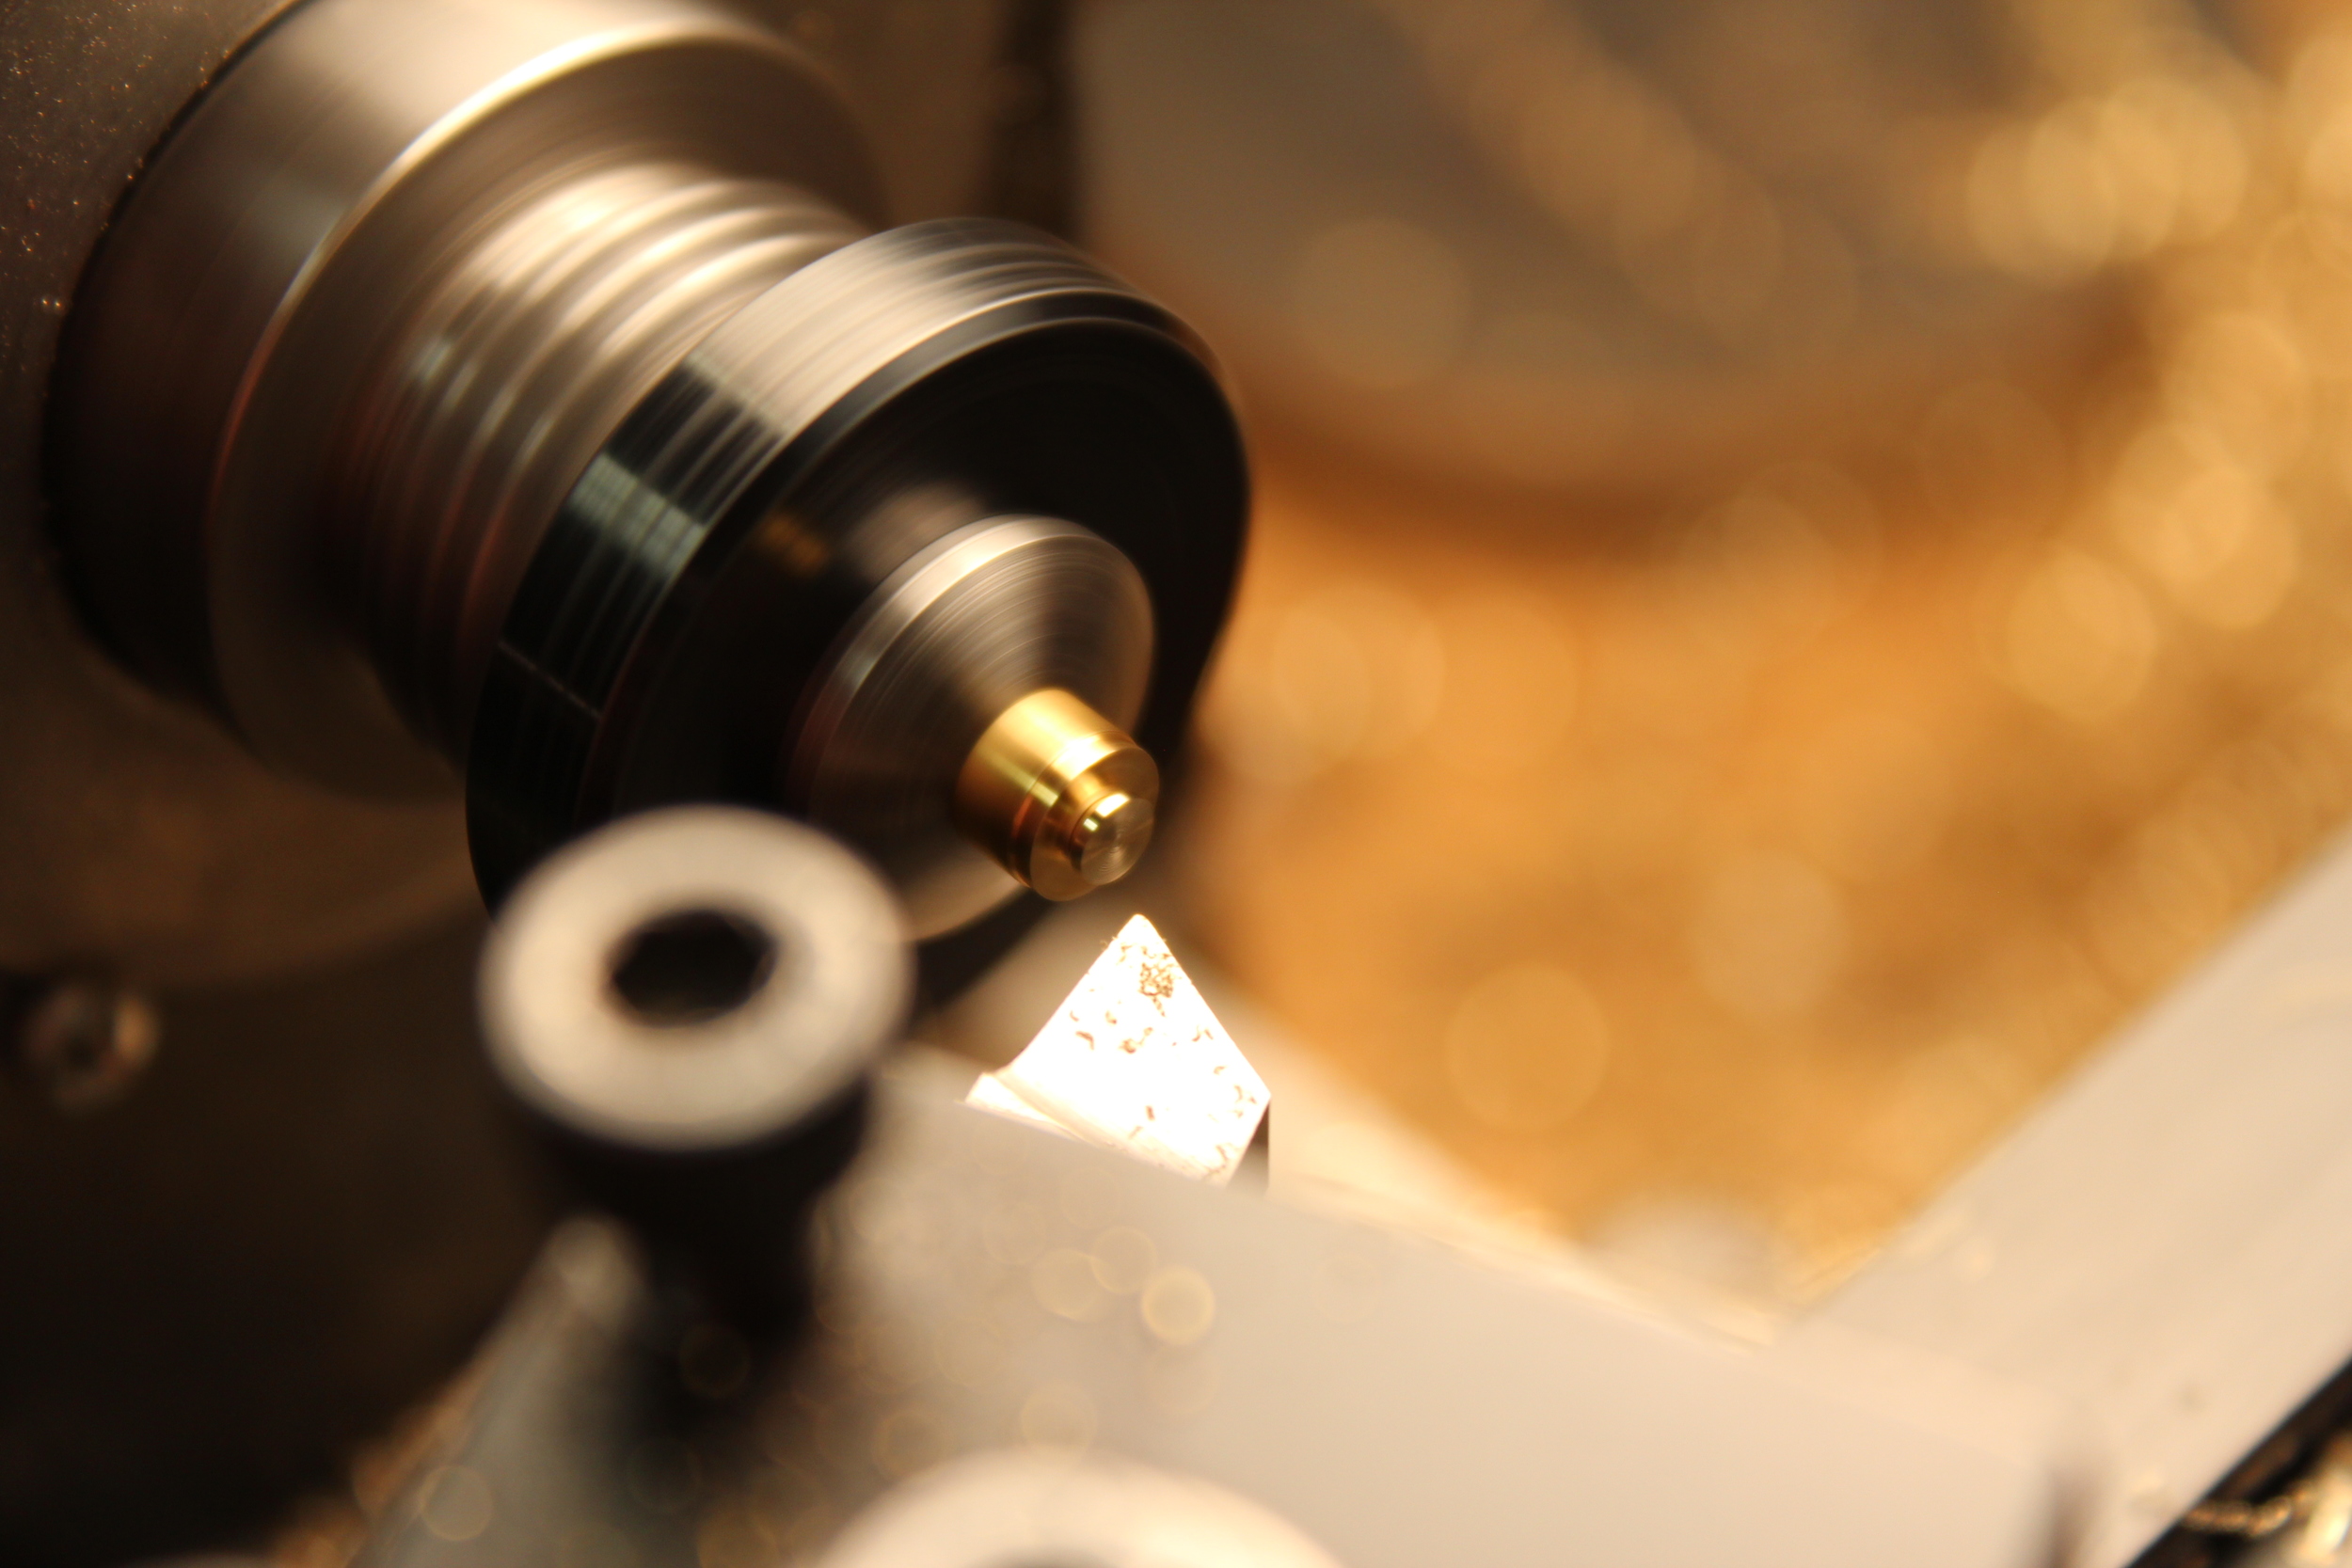
I used ink and a scribe to mark the length of the screws. To form the head, I plunge this tool in until it is at the bottom of the thread and feed it to the left until I hit my line. It leaves a notch that is the thickness of the cap iron, so it almost clicks in.
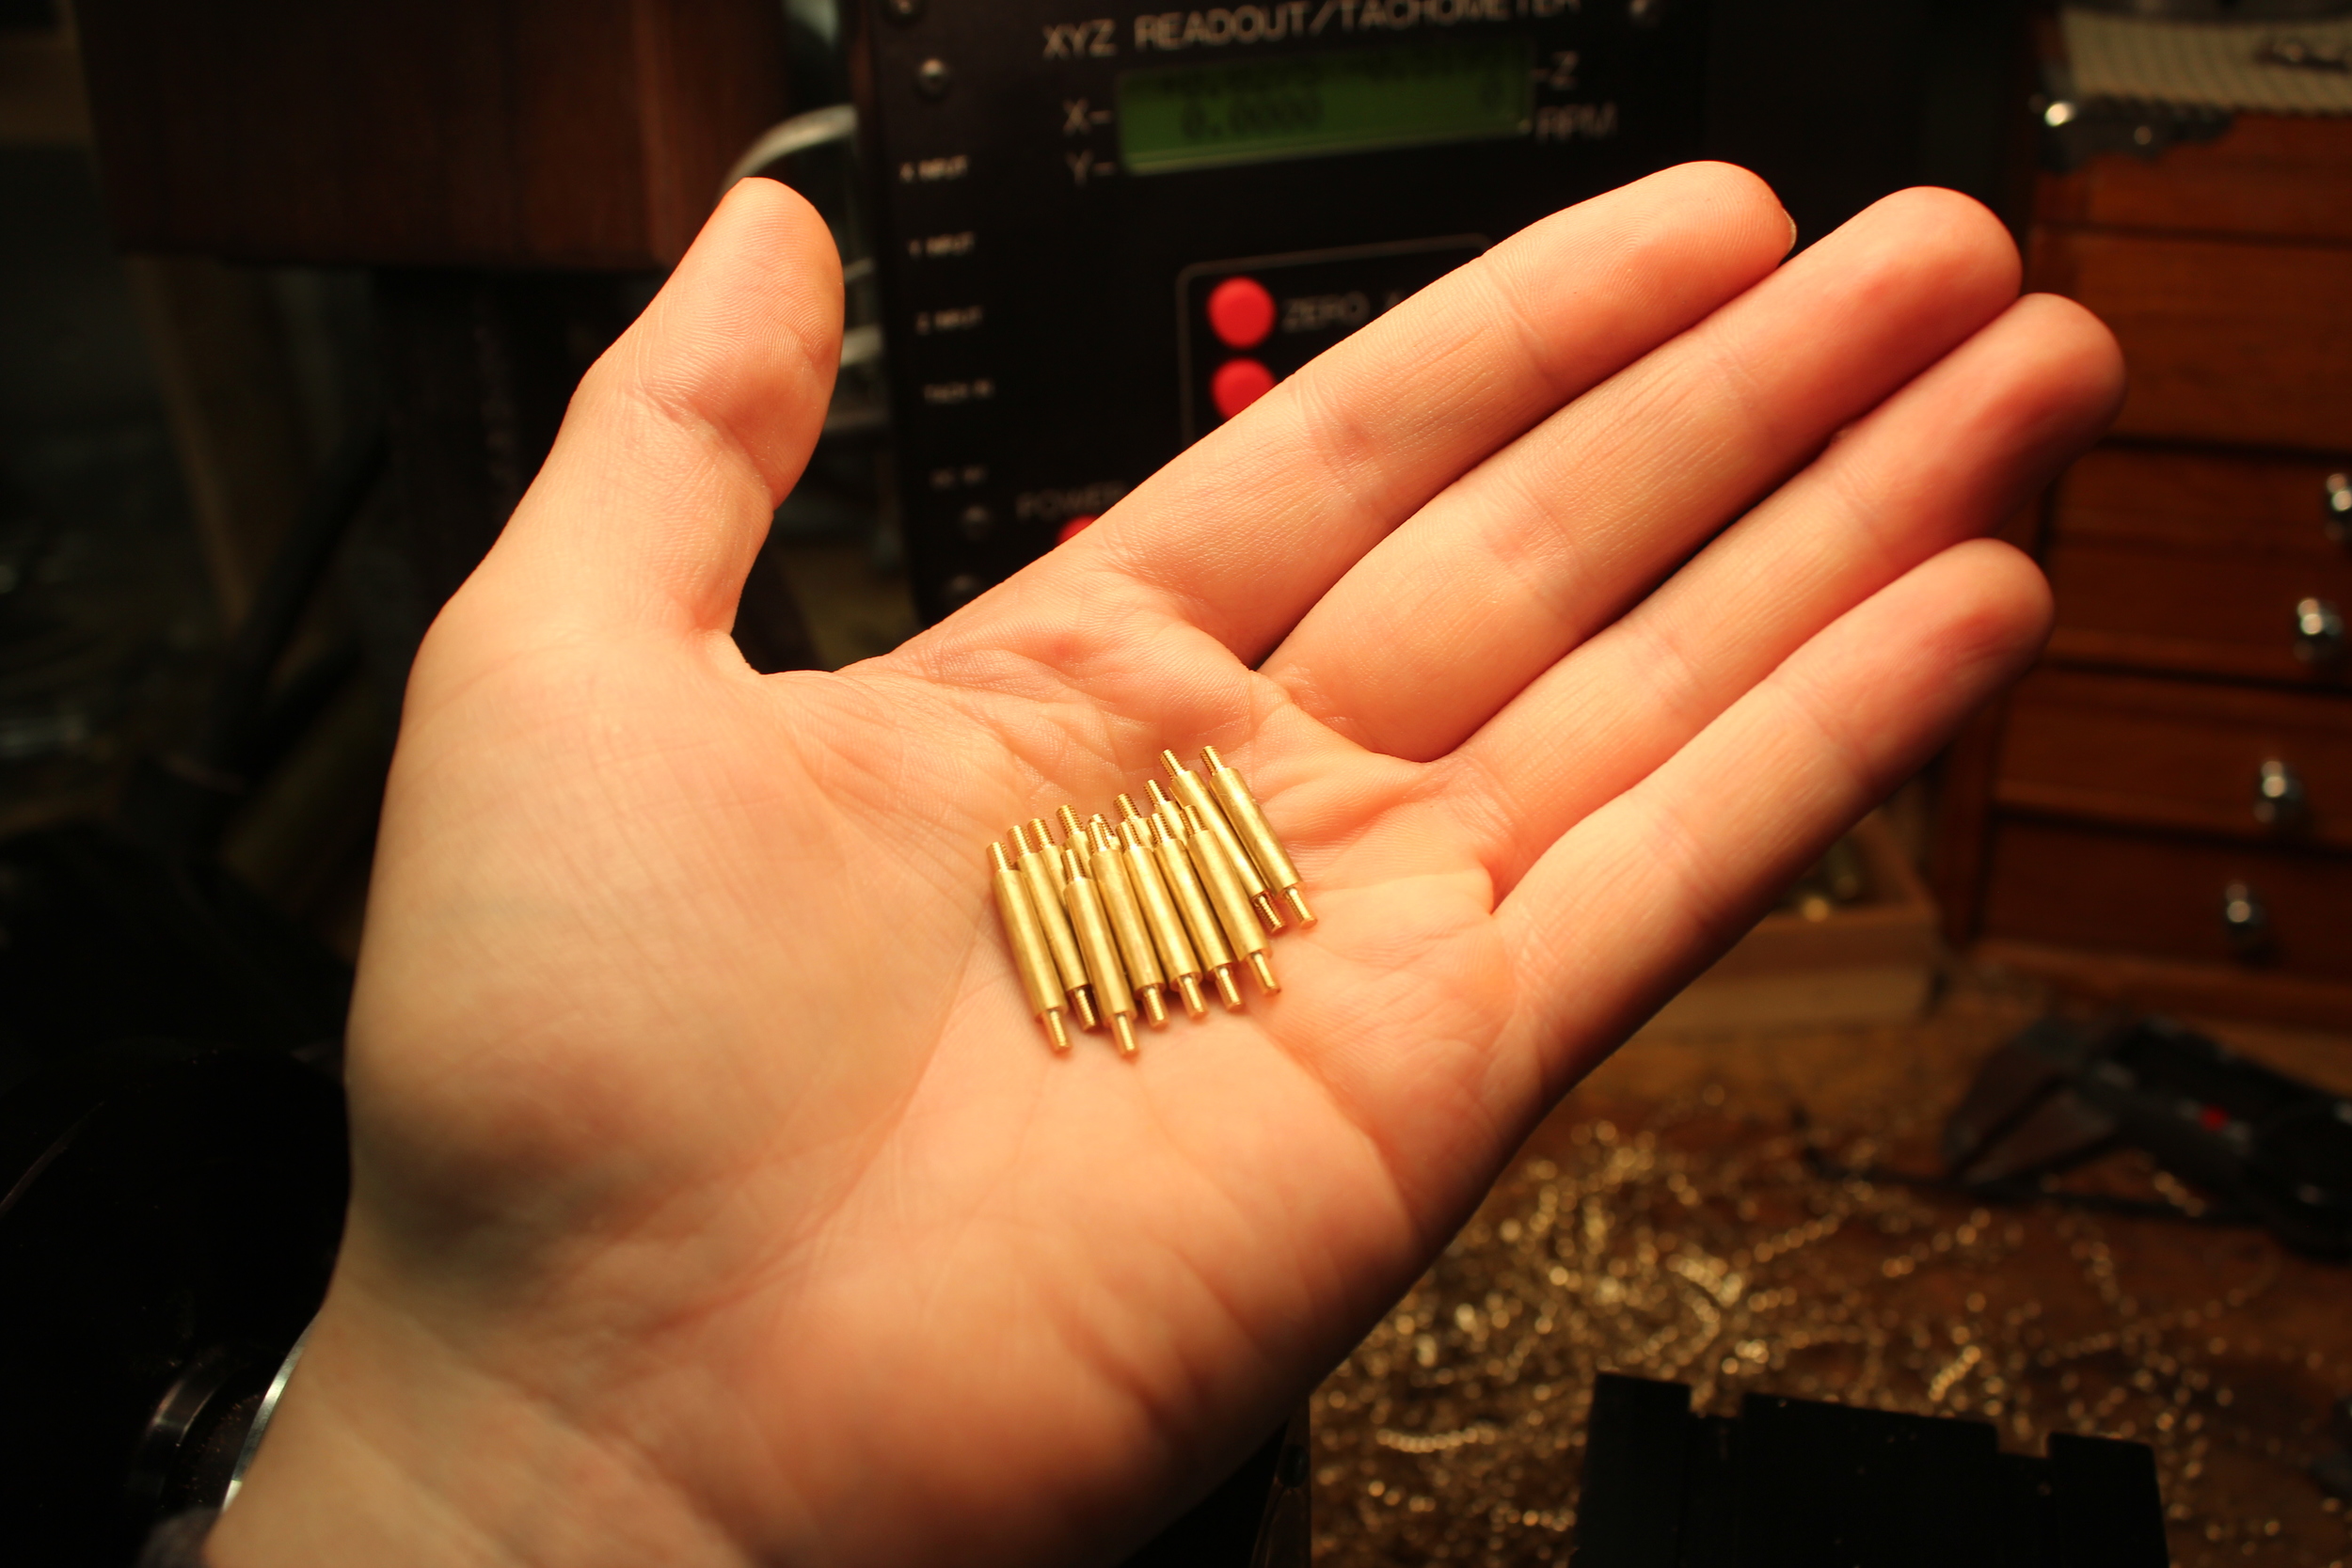
Like the previous screws, these needed a special holder so I could work on the heads. The holder is threaded through, but the majority of the threads are drilled out, leaving only a few at the bottom. If it it threaded all the way, the screws are very difficult to get out.
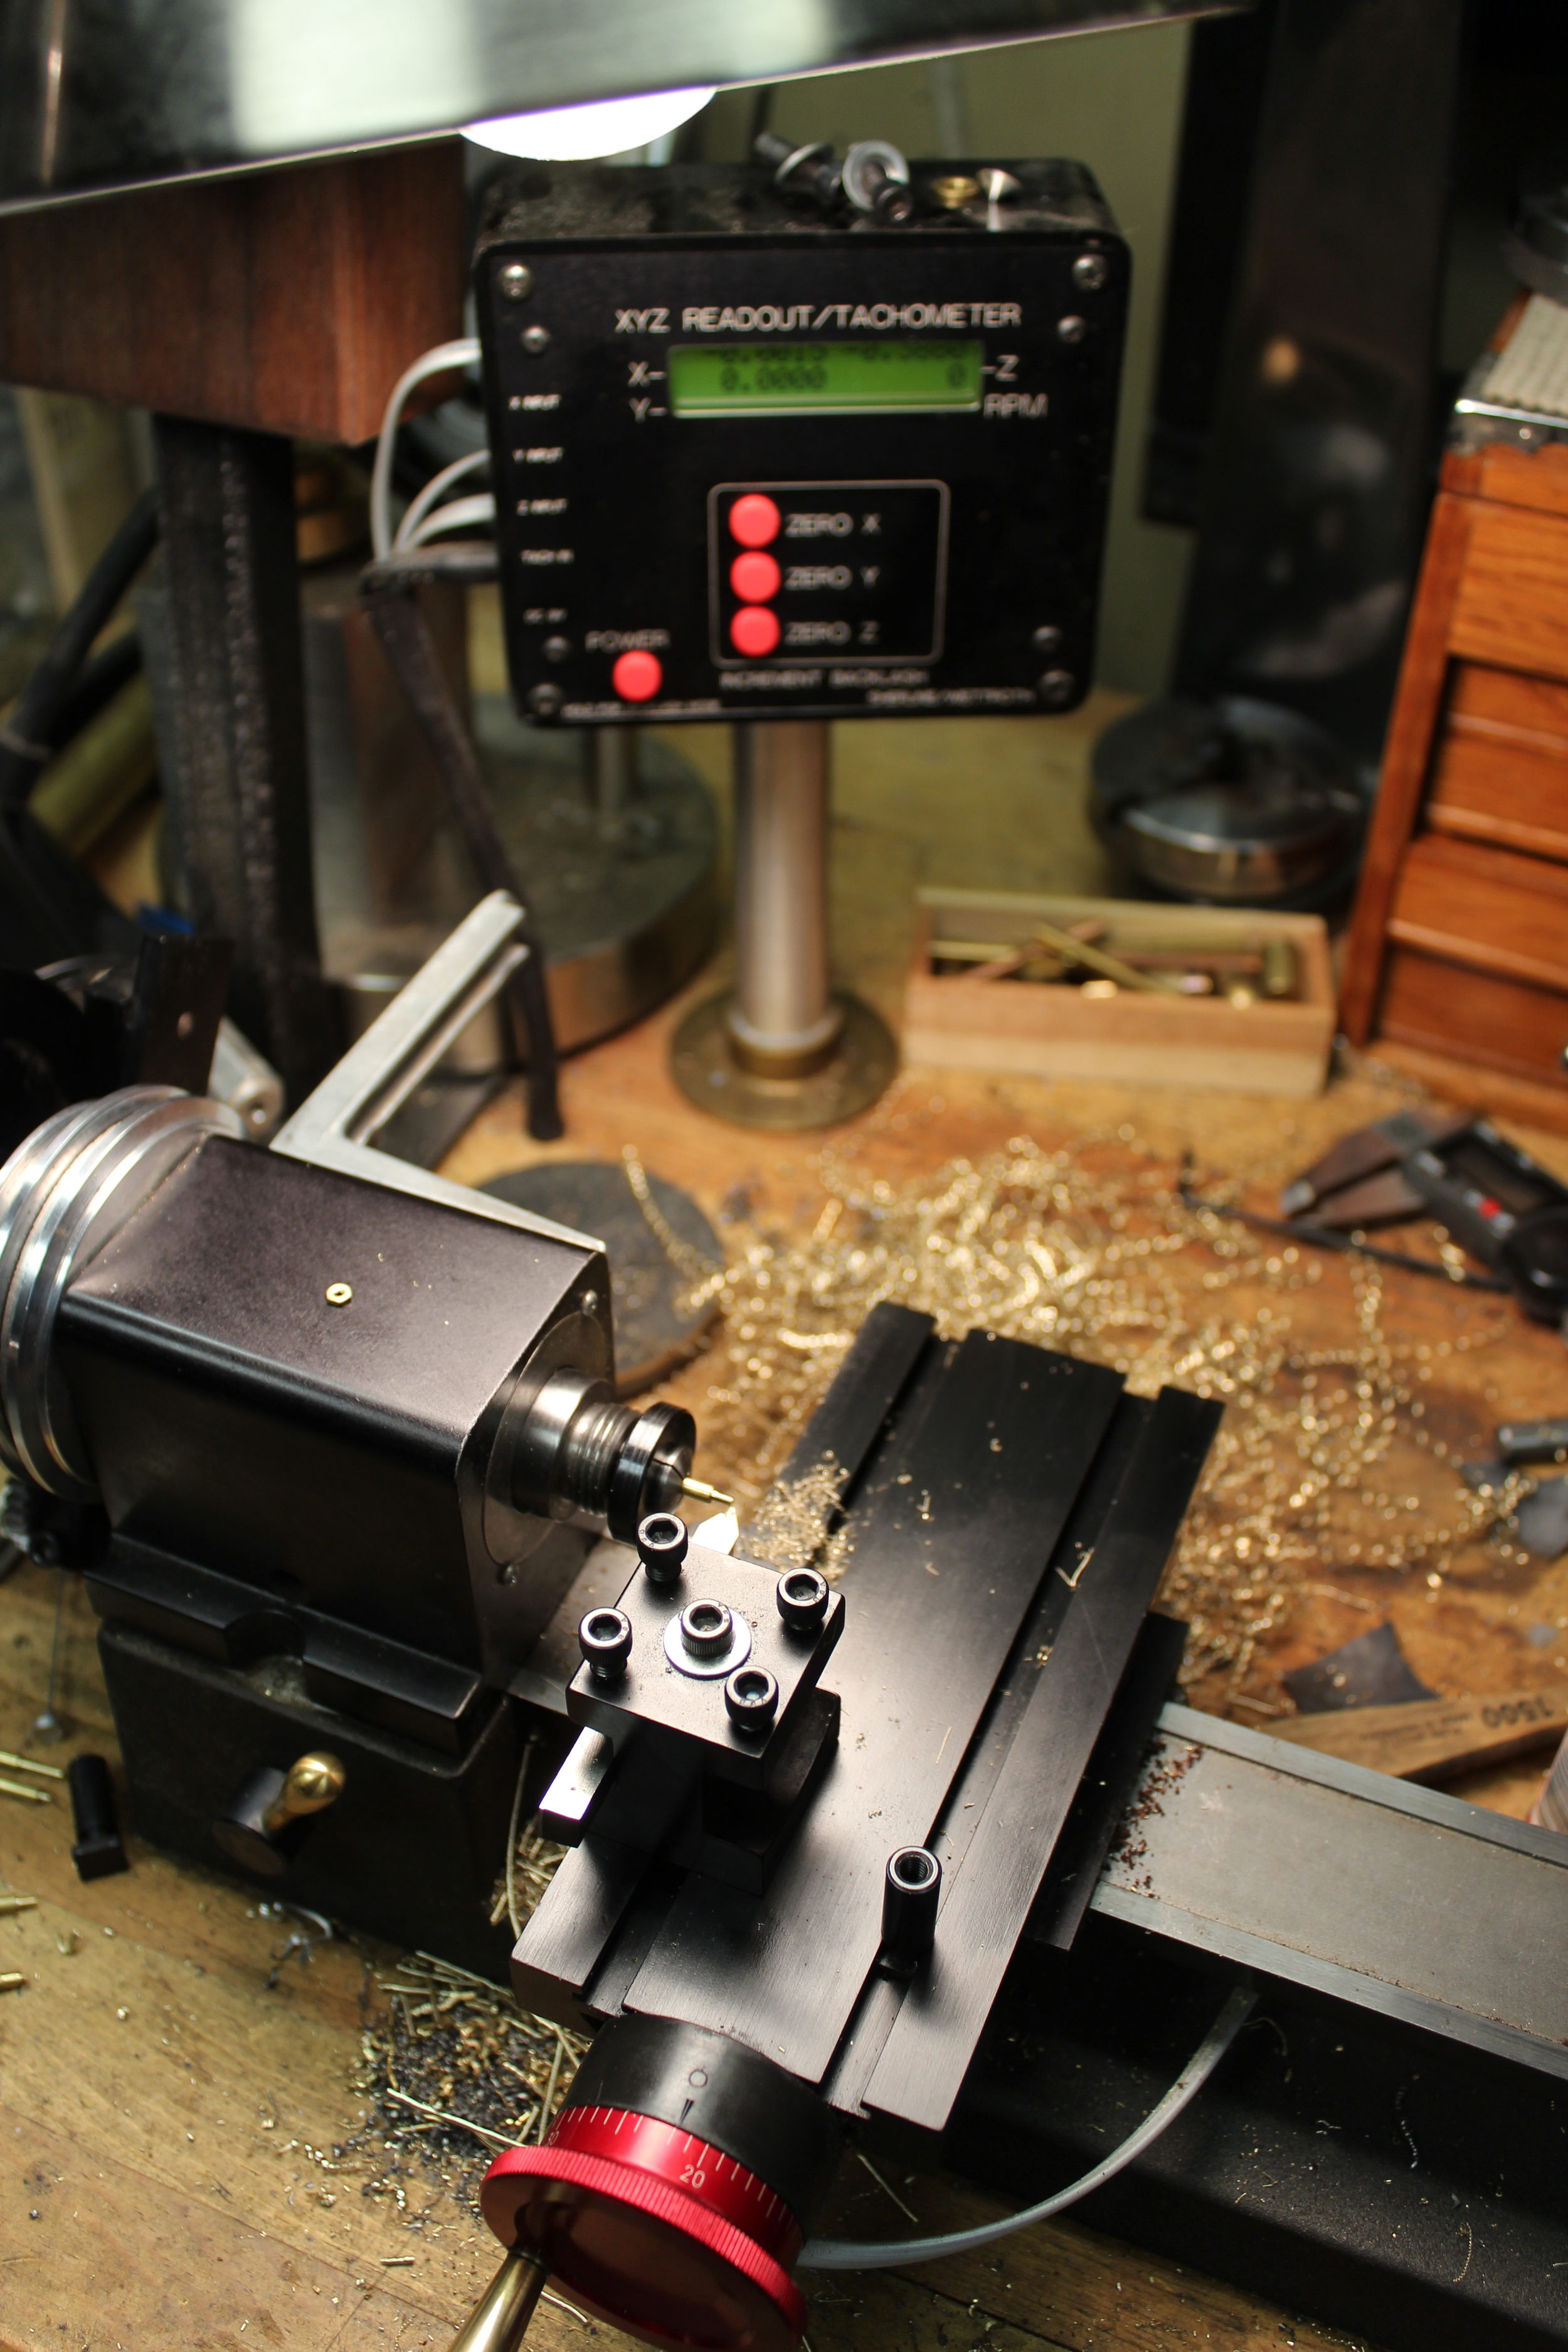
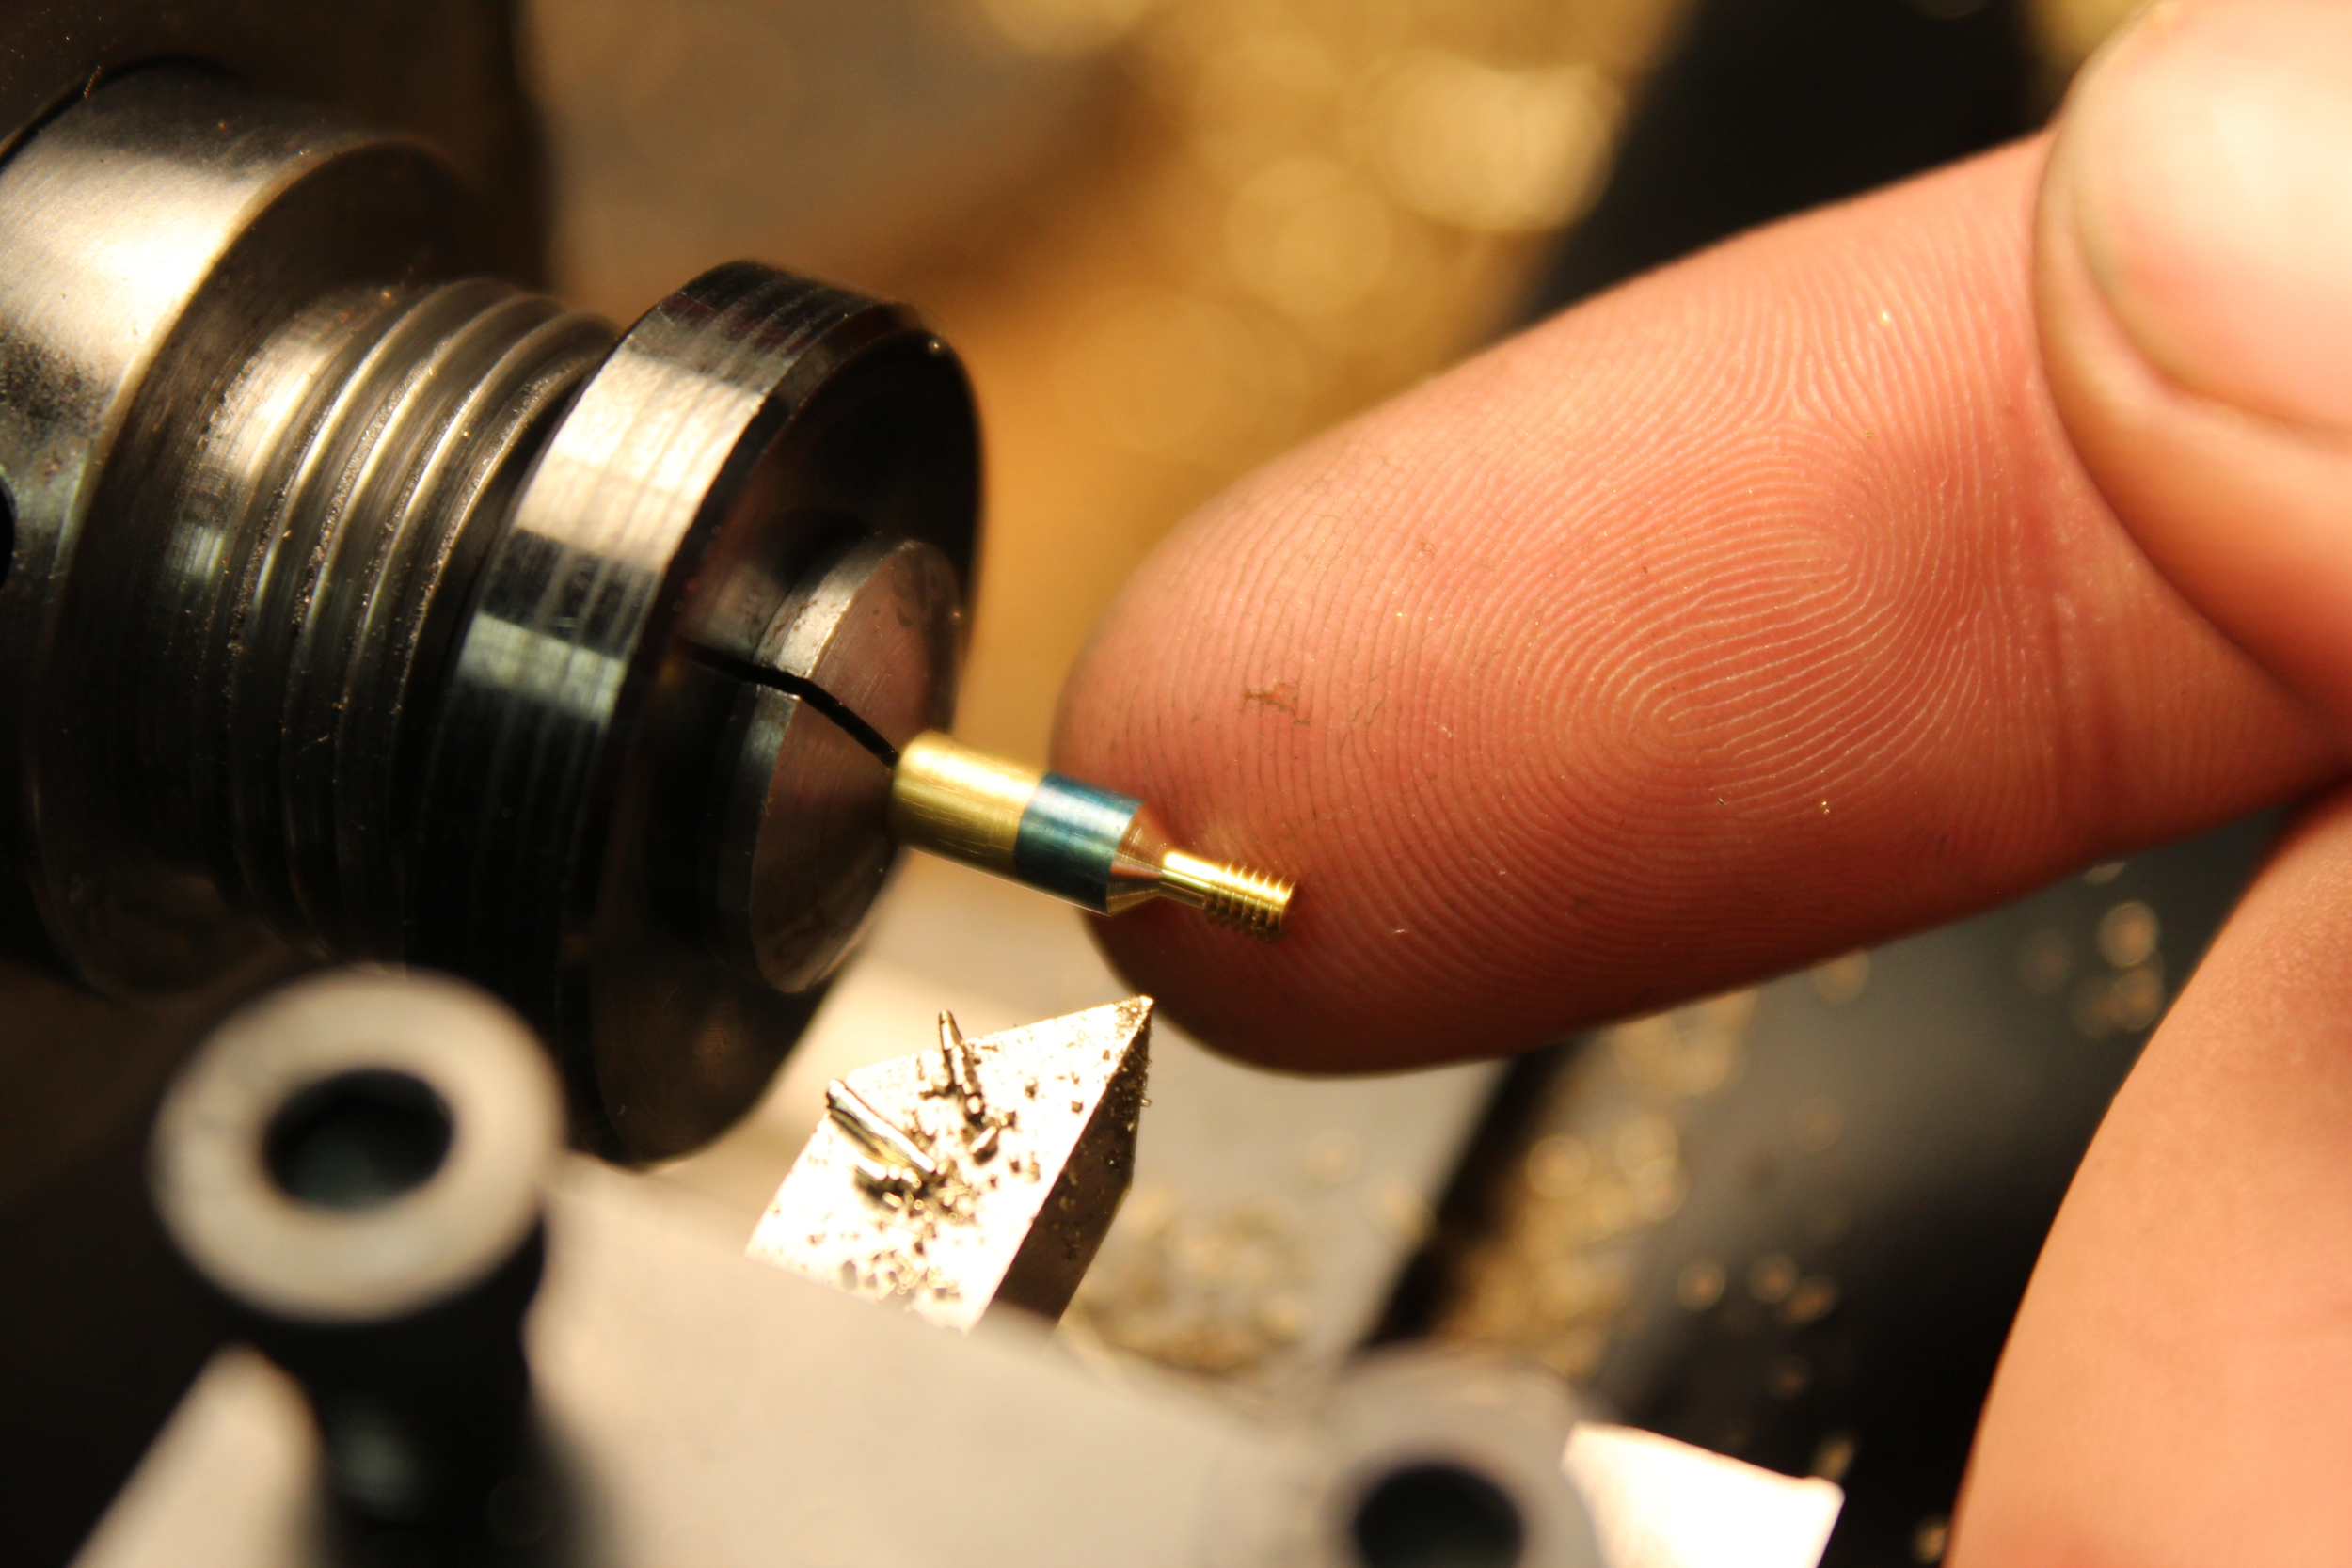
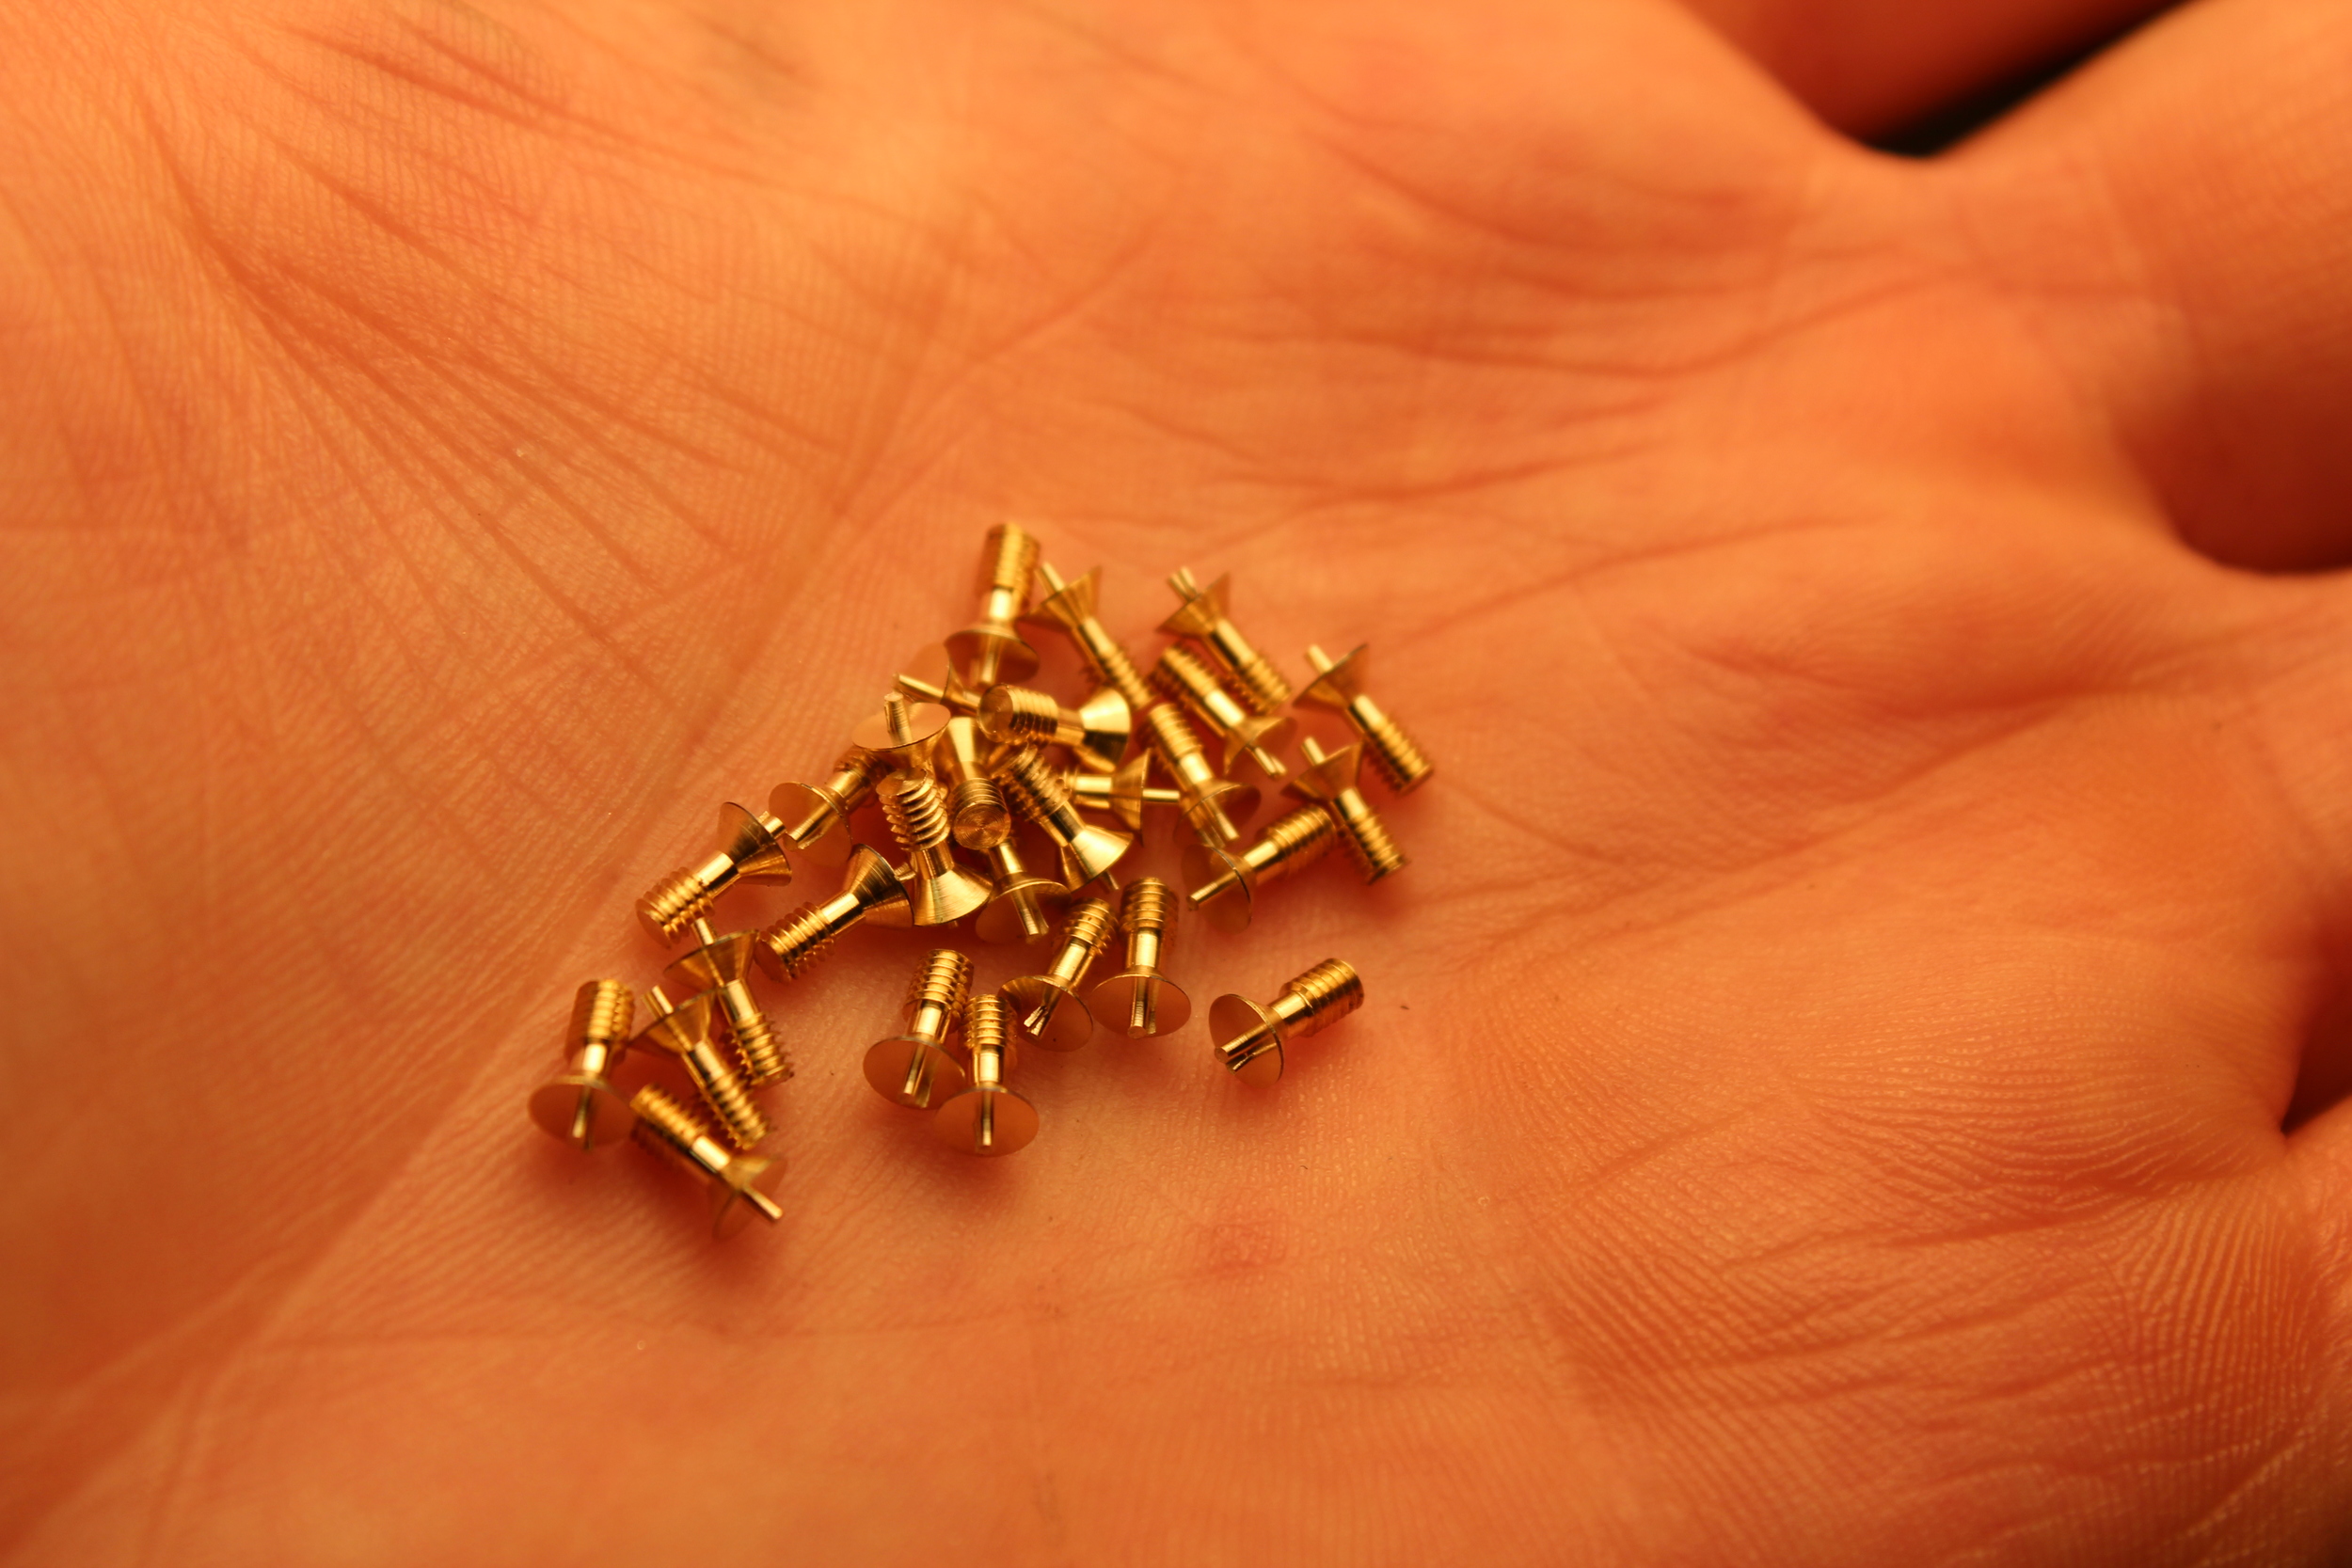
These screws have domed and polished heads. I first put the blank screw in its holder so I could work on the head. I faced it off and turned down the diameter. I than used a progression of a fine file, sand paper, and rotary tool polishing wheels to crown over the head, until it was a mirror.
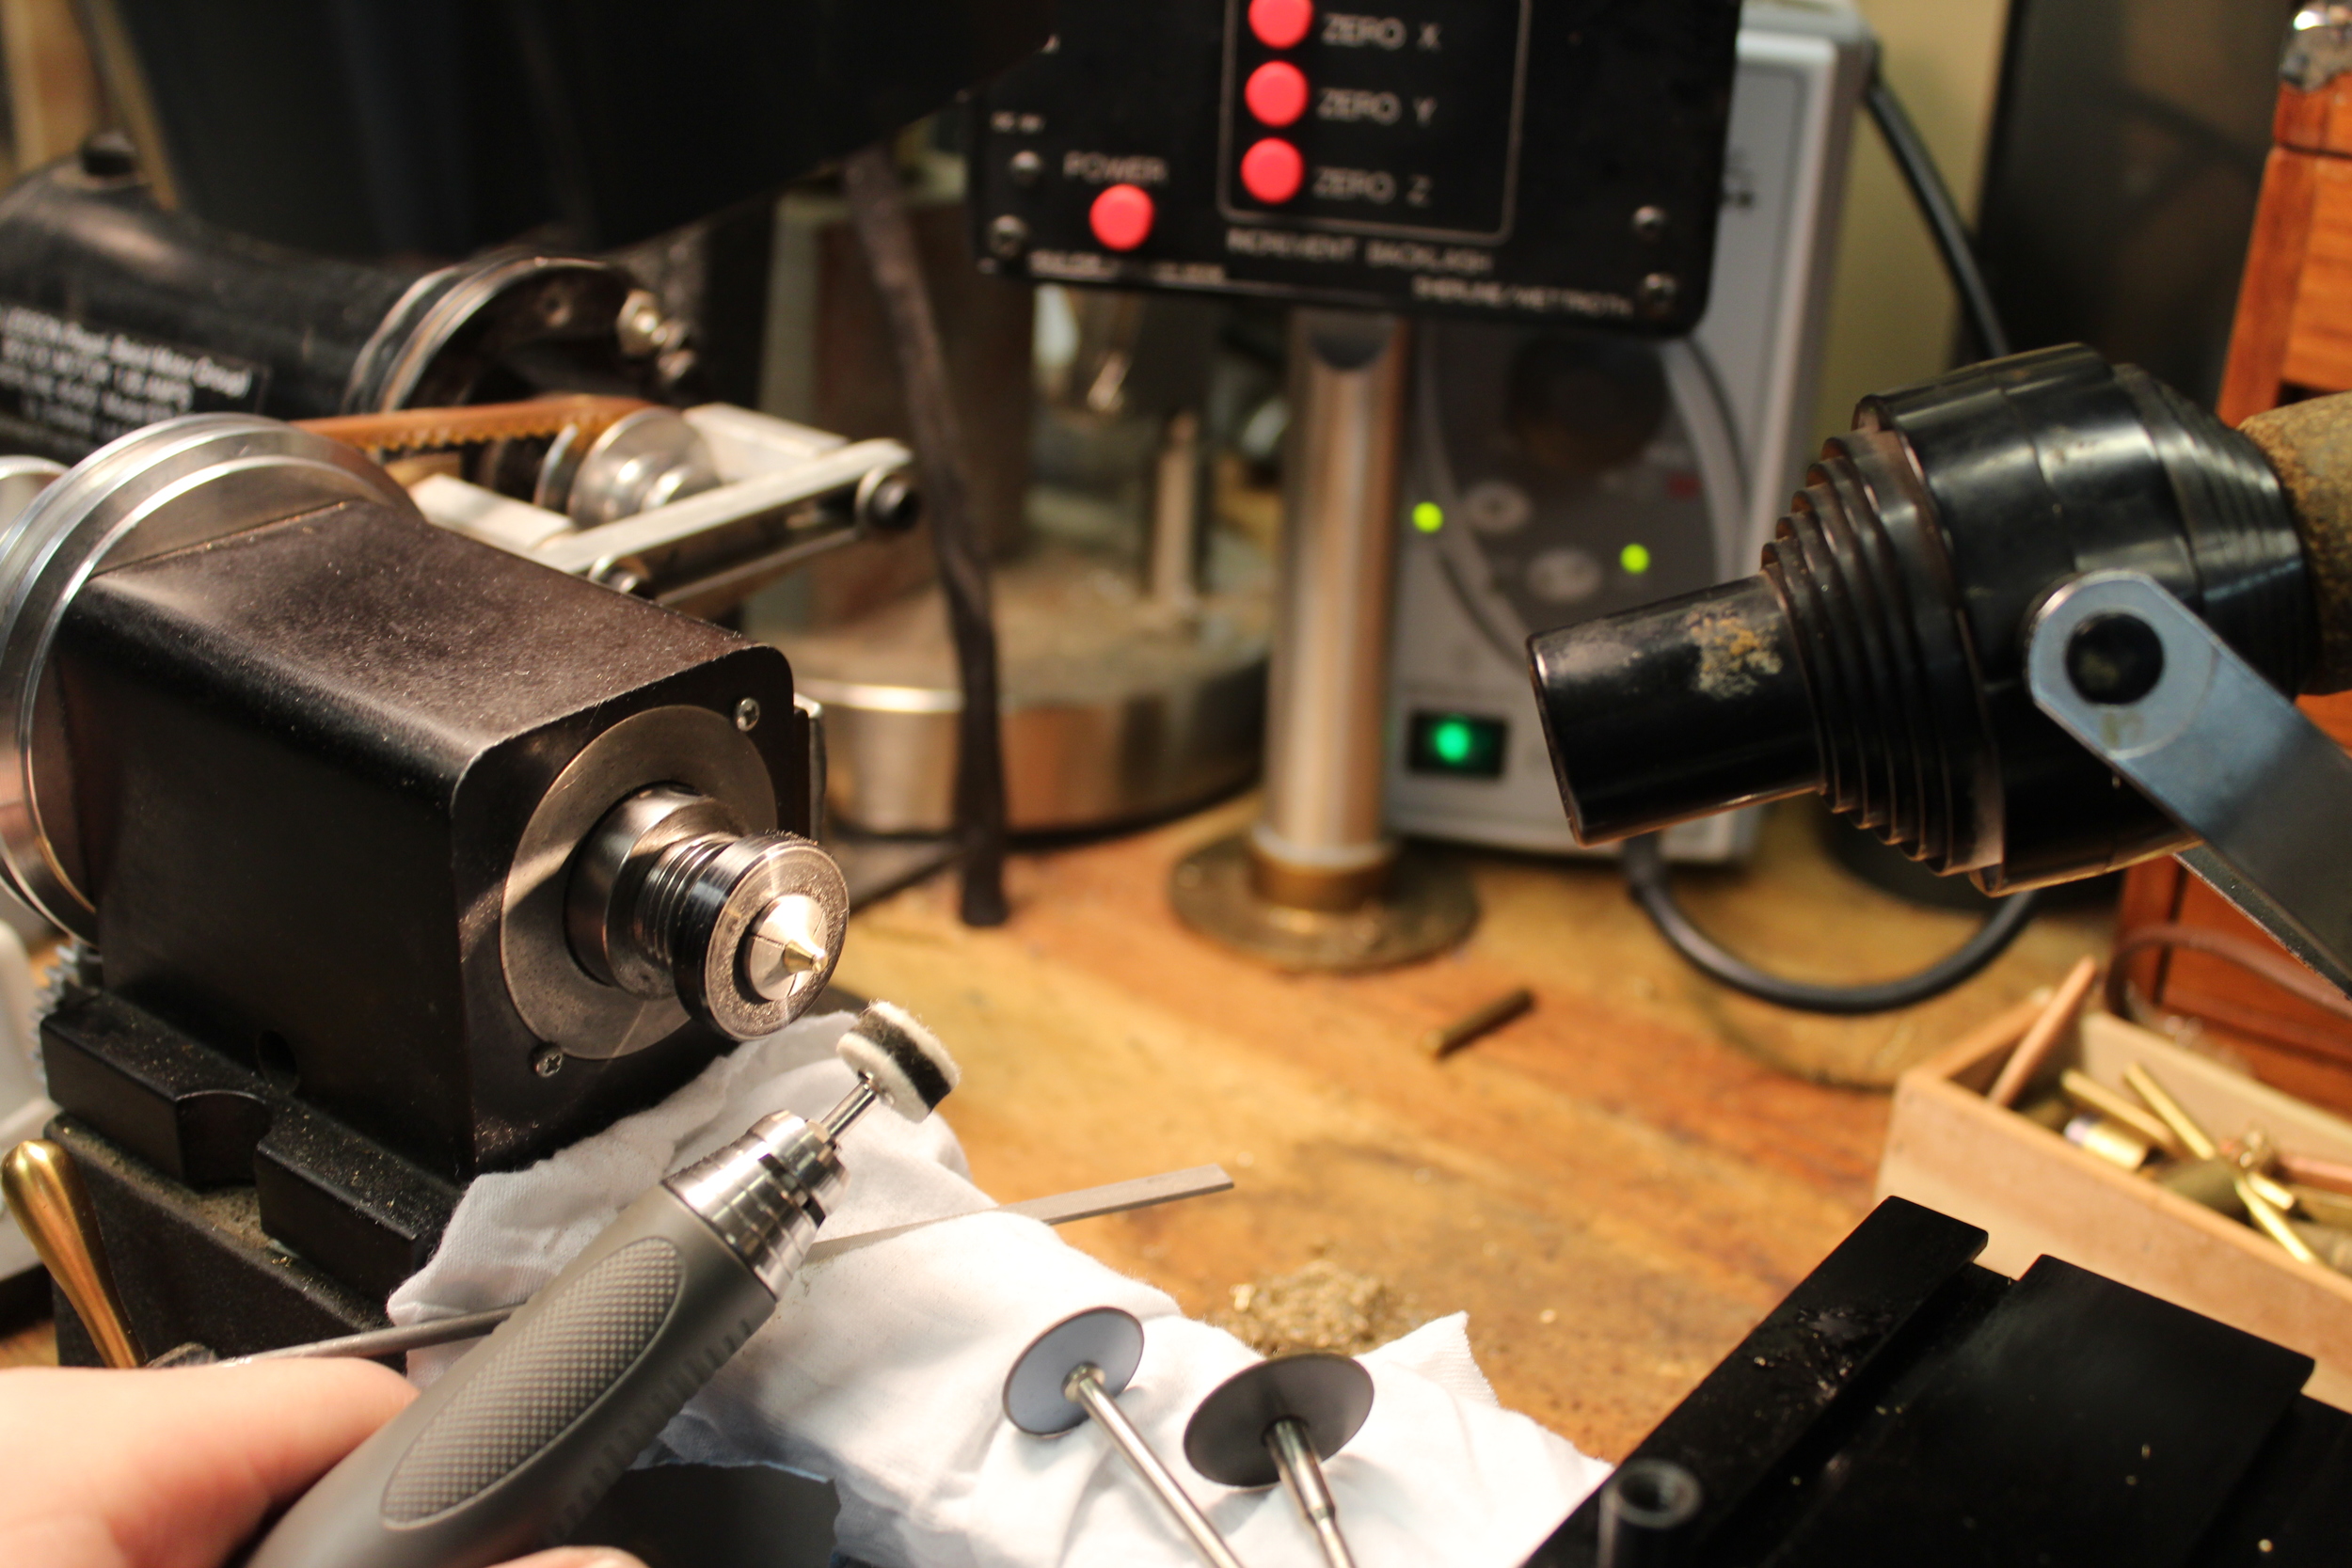
Once all the screws had domed and polished heads, they were moved over to the mill to cut the slot. I move in the screw until it touches the saw, and set my hand wheel zero. I moved the saw in .018" and made the cuts in one pass. My Sherline mill does not have digital readouts, so I use the graduations on the hand wheels. I find it easier to land on numbers using the hand wheels because it is easy to fly past a number using digital readouts.