The blade adjustment knobs on the full scale planes are made from stainless steel. I made one of the miniatures from stainless and it was not very friendly on my tooling, specifically the knurling wheels. On the prototype miniature I turned this part from 12L14 Steel, and it came out great. The problem was the rust. The leaded steel oxidizes quickly and the rust crystals are not exactly miniature. As a alternative to oiling the steel, or having them rust, I decided to make this part from nickel silver. This was the first time I ever turned nickel silver, it turns very well, leaves a beautiful finish, and is easy on my cutting tools. Most importantly it will not rust.
I cut the blanks with a parting tool on the lathe. Extra length to hold in the collet.
After facing the blank, I used a center drill to establish a center dimple. I then switched to a drill, and next a 1-72 tap. The tap is held by a slip fit in the tail stock chuck. The knurled knob on the tap allows me to carefully hand feed it in. I was not too worried about depth, I just made sure the tap went in further than the finished length of the part.


With all the blanks drilled and tapped, I turned down the outside diameter to 3/16" I left the cutter at this depth and switched out the blanks to insure they were all the same diameter. I would have started with 3/16" stock but it was not available at the time I collected material.
Knurling.
I used the Sherline knurling tool with 70Tpi spiral knurls for these nuts. The Sherline knurling tool has two opposing wheels that clamp down on the part. The tool is mounted to the cross slide snug but not tight to allow it to move if the piece has any run out. The wheels are clamped down on the work via two socket head screws. The depth is determined by how tight its clamped. I use a lot of cutting oil to keep the cutters from clogging up, but it also makes it hard to see whats going on. Sometimes the knurls will not track right because the outside diameter is not compatible with the knurls tpi. If the knurl comes out 'Muddy' or out of track, it can usually be fixed by removing .001" off the diameter and trying again. The knurling tool works well but it is tricky. I have future plans to remake this tool as a tool post mount, with one single knob to adjust the pressure. Once all the parts had a knurl, I cleaned them in mineral spirits with a brush to remove all the oil and chips. I also used a soft brush in a rotary tool to make sure they were clean.


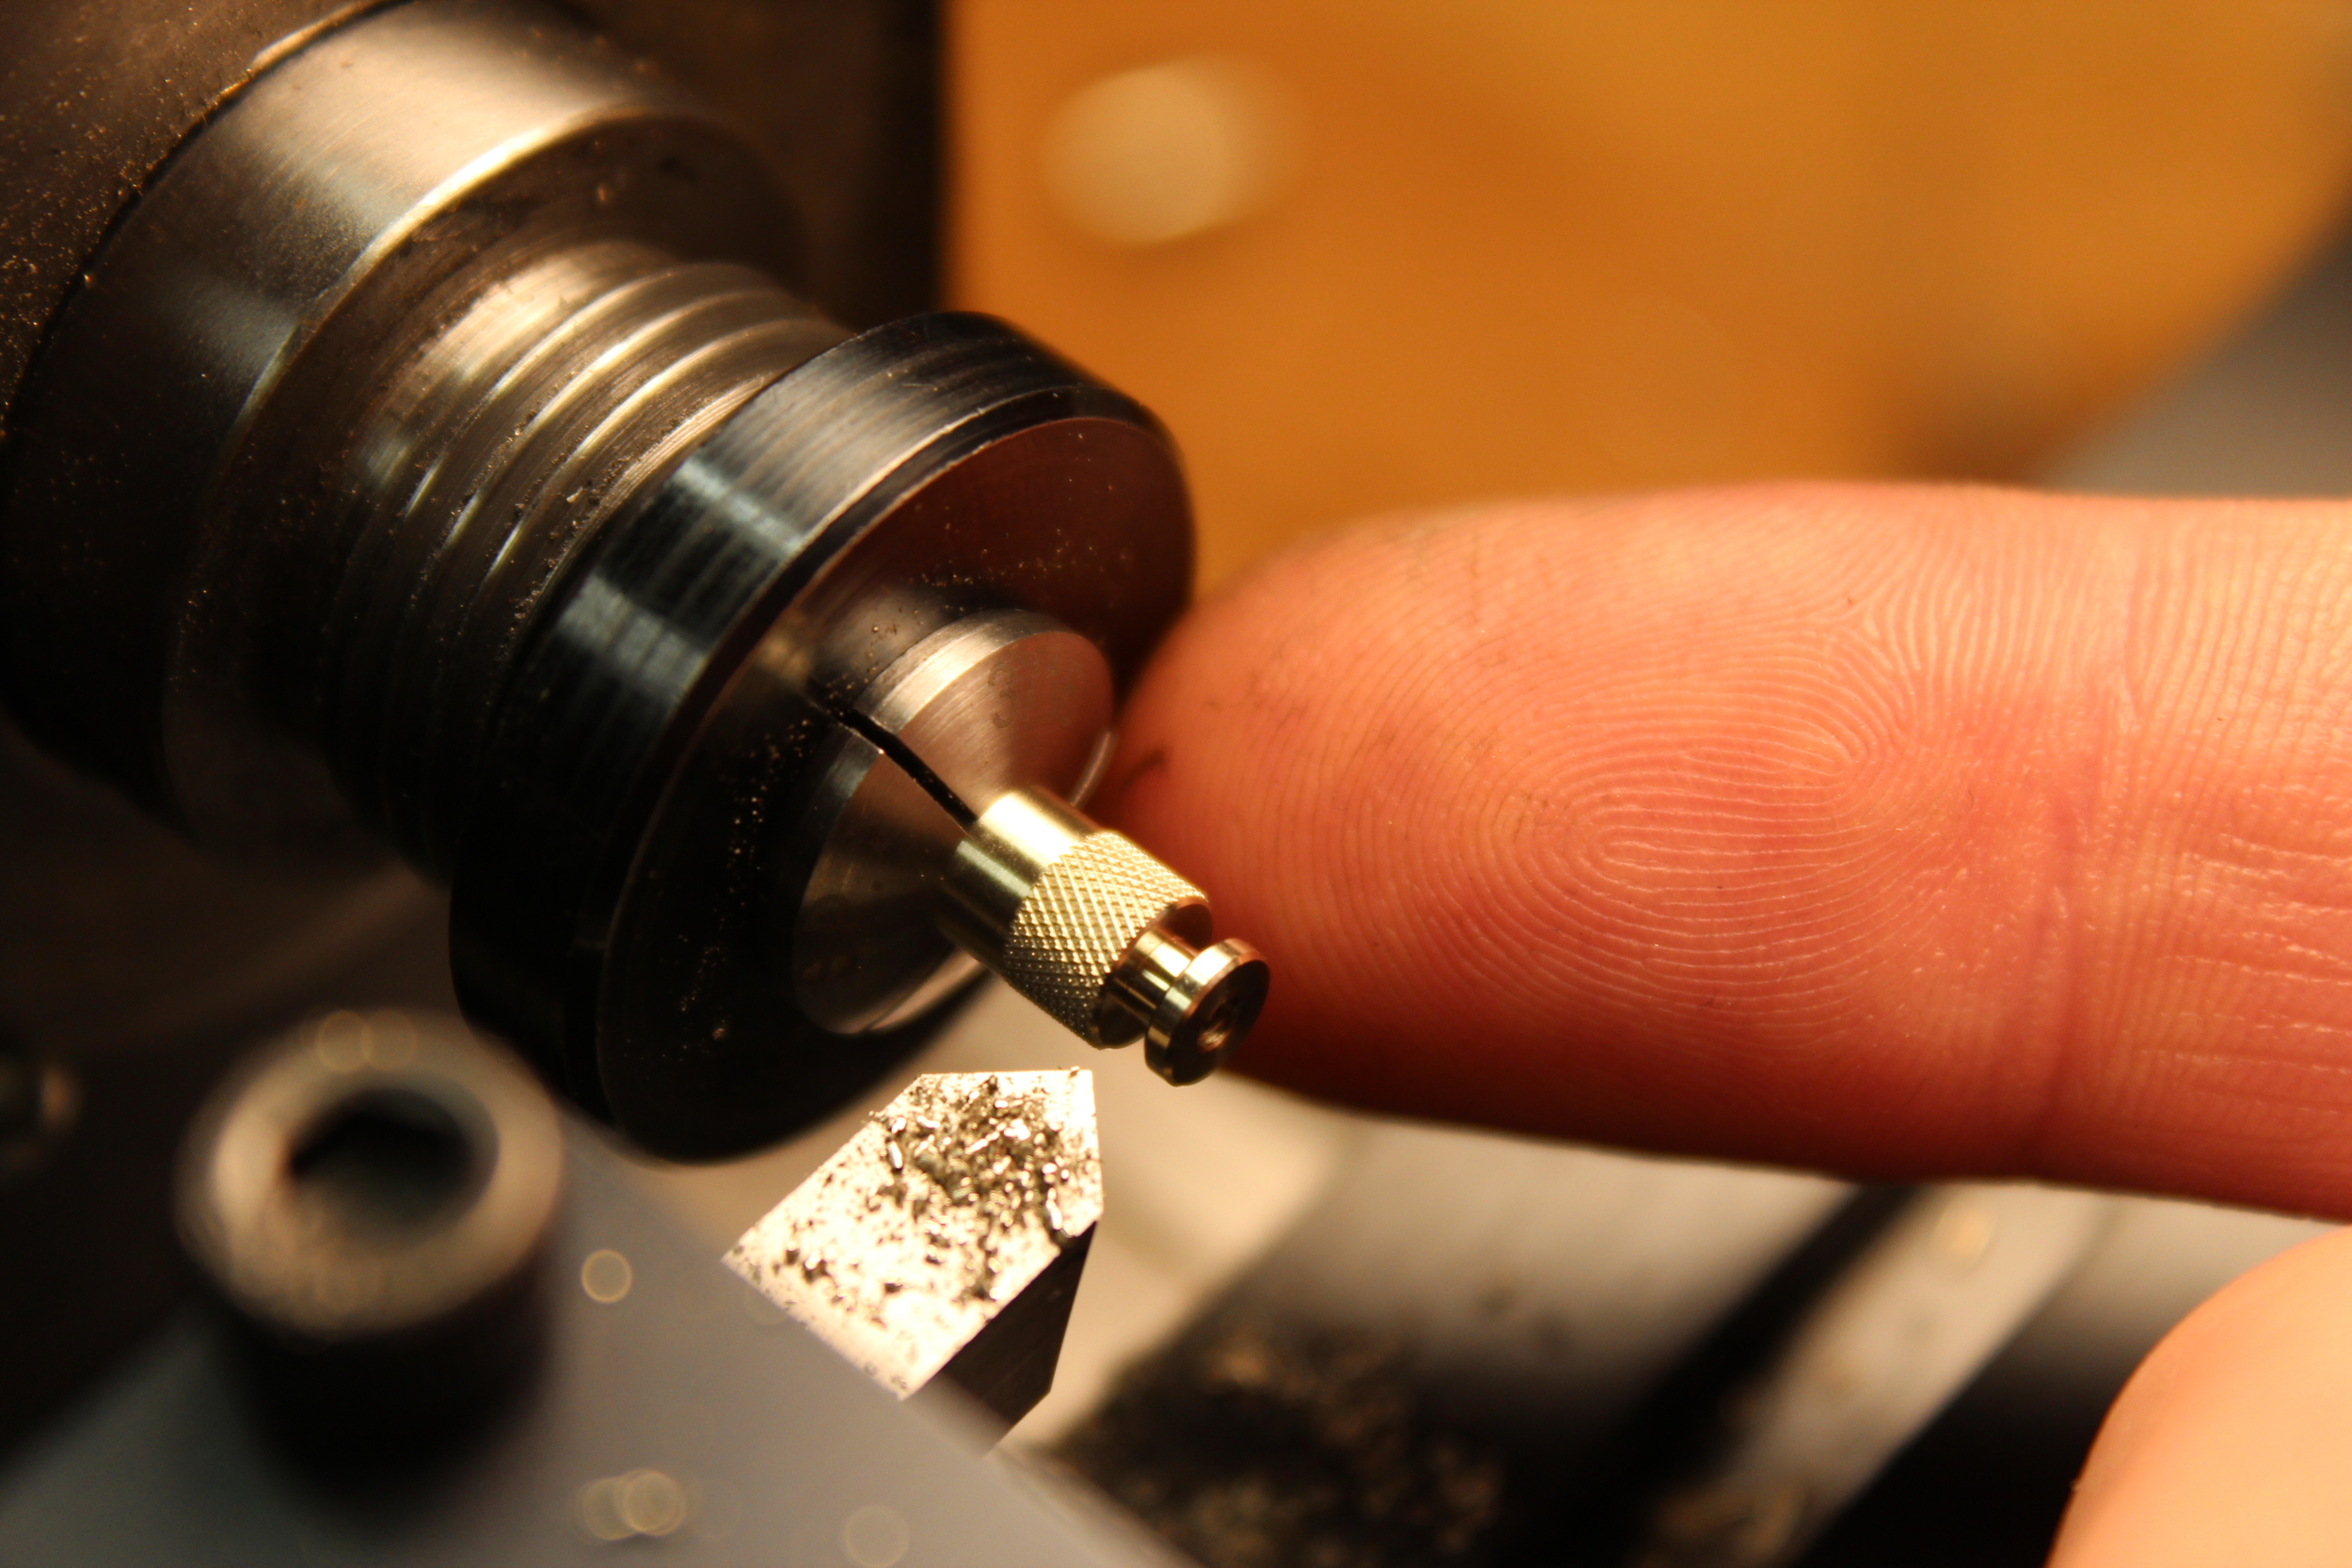
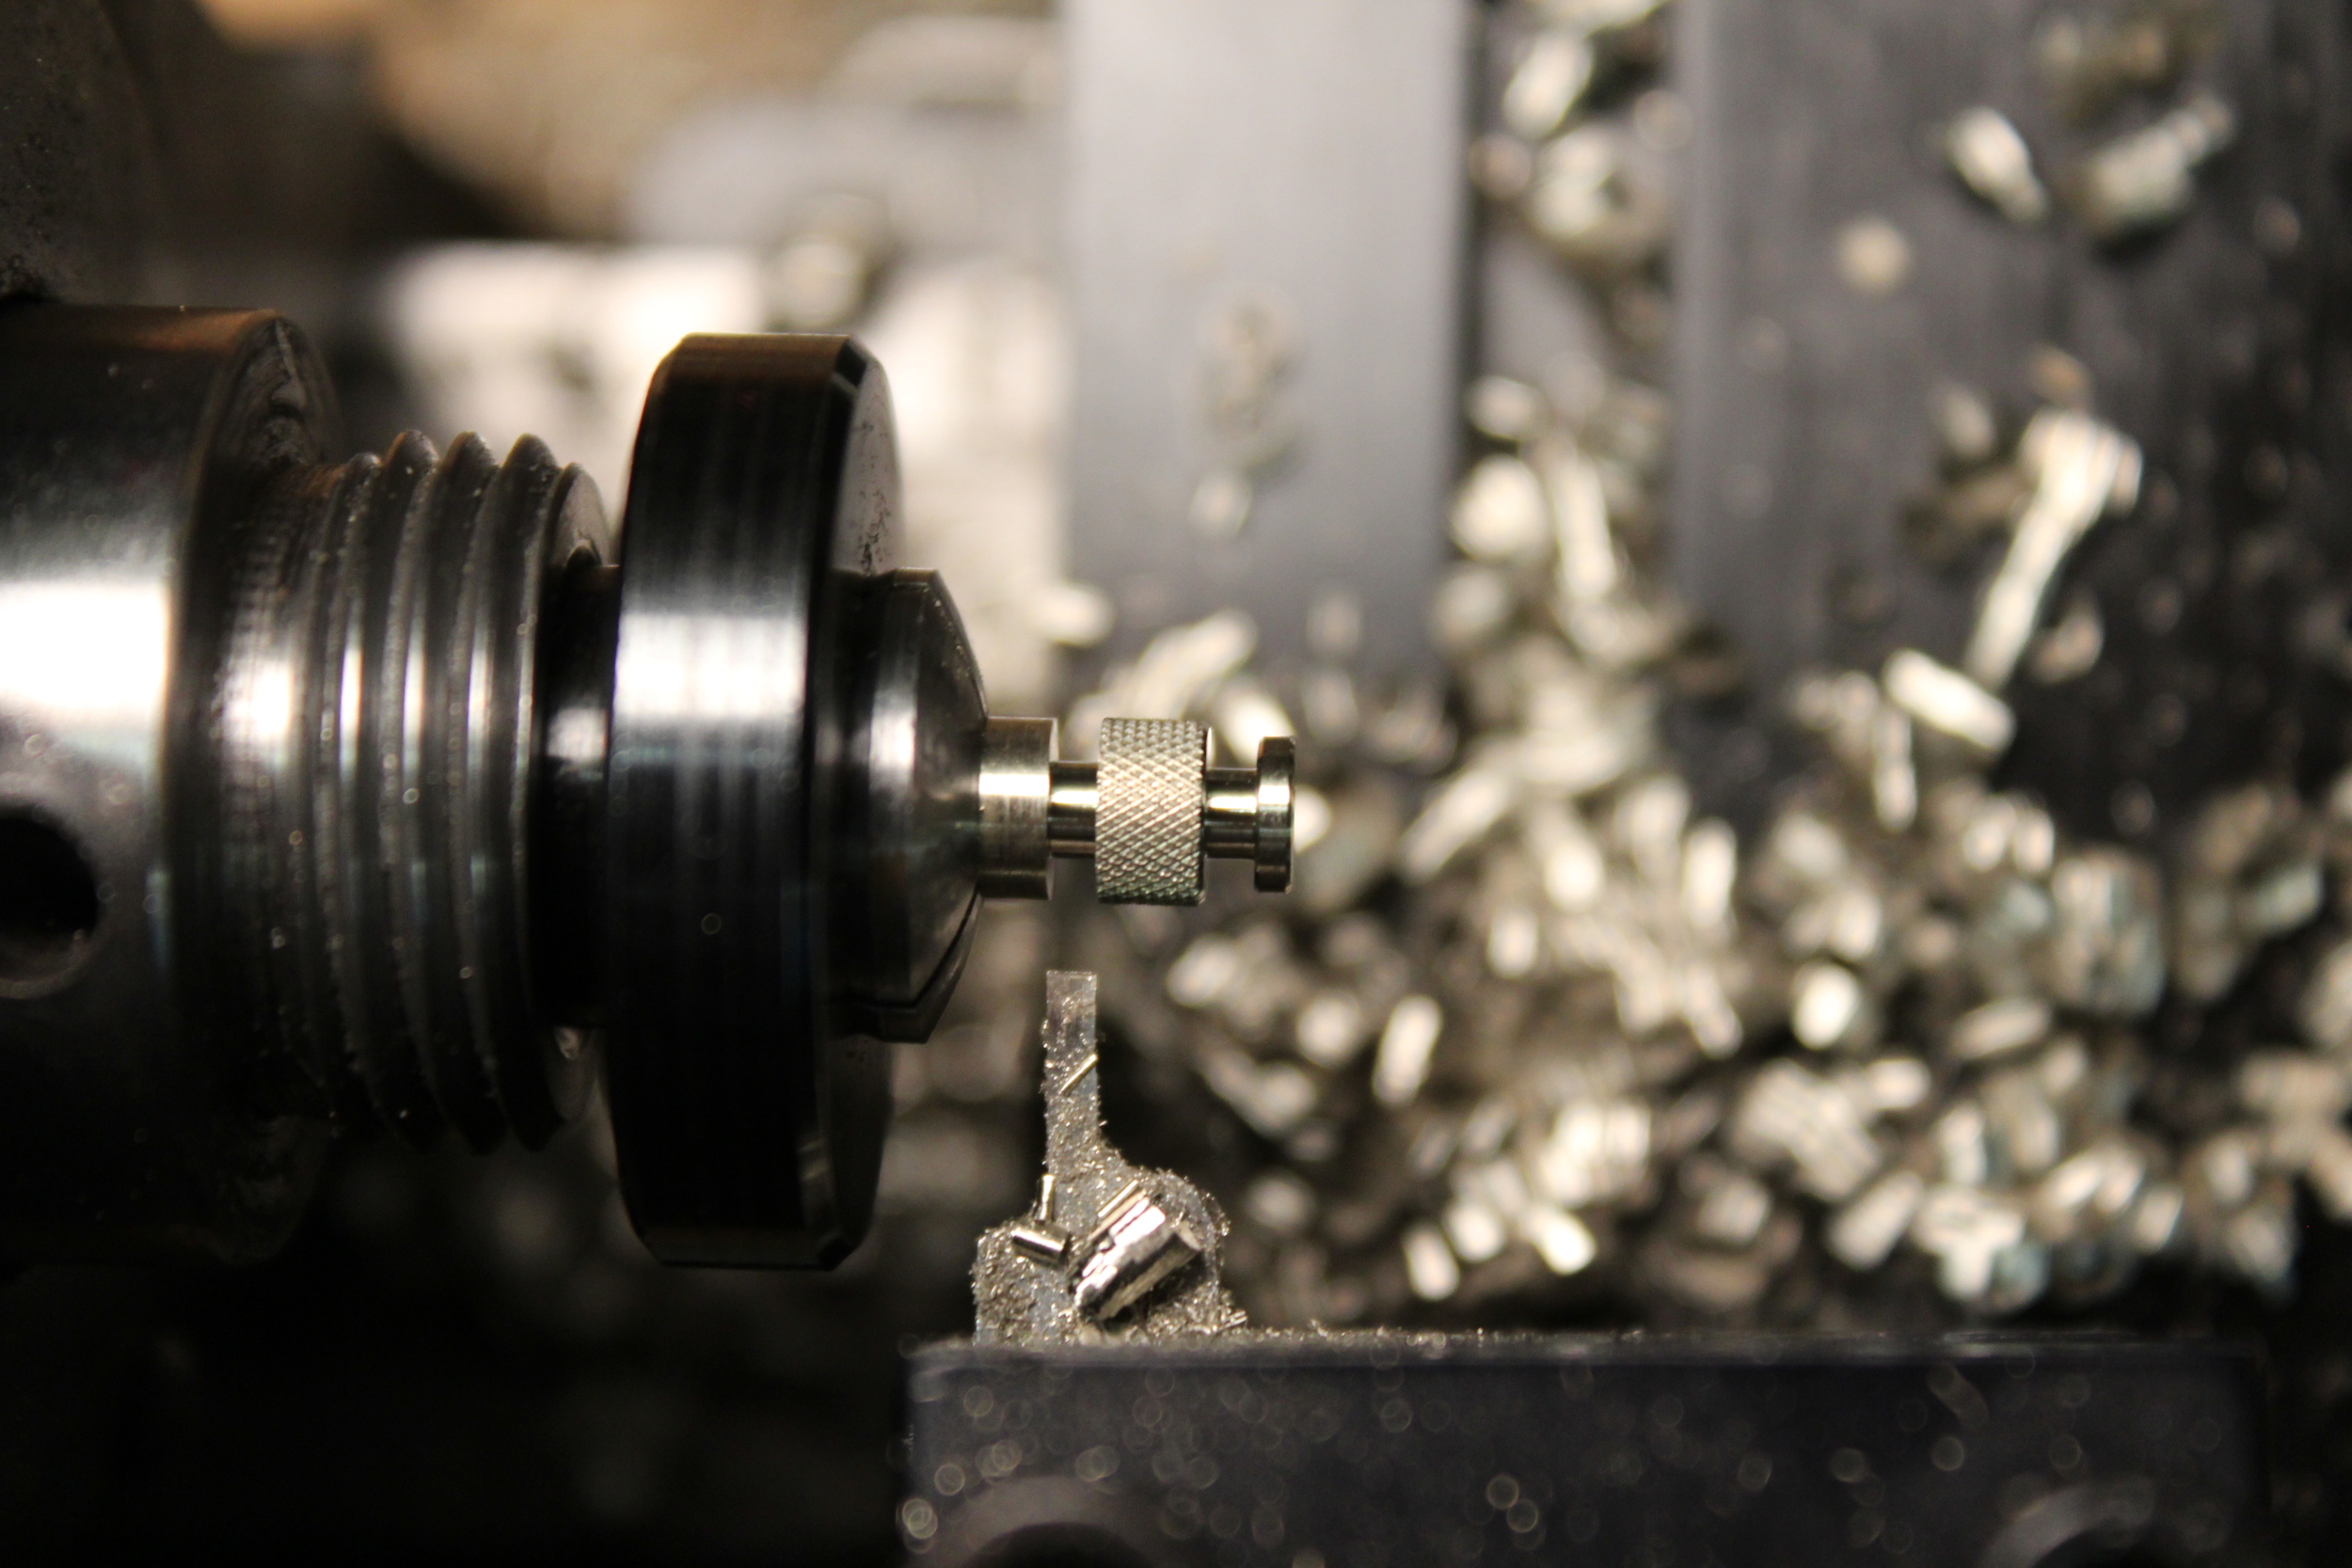
With the knurling on there, next I turned down the front to the diameter that rides in the blades. Using the lathe readouts I was able to repeat the same cut on all the parts fairly quick. I ended this cut where the deeper groove ends. I than made a .05" parting tool to cut the groove. I spent a good amount of time making the tool sharp with micro radii at the corners to give a mirror finish. This groove is too small to go in and clean up with abrasives so the cutter had to leave a finish that was acceptable.

Before cutting the parts off, I made and used a zero rake chamfer cutter to chamfer the edges. I used the microscope for this operation because it is quickly accurate.
I cut the parts free using the same parting tool.
The last step was to face and chamfer the end I cut off. I turned and threaded a buck to hold the parts for this operation. I turned the threads on the buck tighter than normal to eliminate run out when I mount and remount the same part. I first faced them all, then changed cutter and did the chamfers. No abrasives touched these parts. That is the only way to keep them looking miniature and crispy. The very fine turning lines are critical to the final piece.