
With the cap iron castings poured and most of the molding investment cleaned off, I cut them from the tree and gave them a thorough cleaning.
I lost the radius at the top of the caps due to the casting sprue being there. Once the lump at the end was cleaned up flat with a file, dividers were used to reestablish the radius. I then filed the radius down to the line left by the dividers, making sure to keep the bevel all the way around.

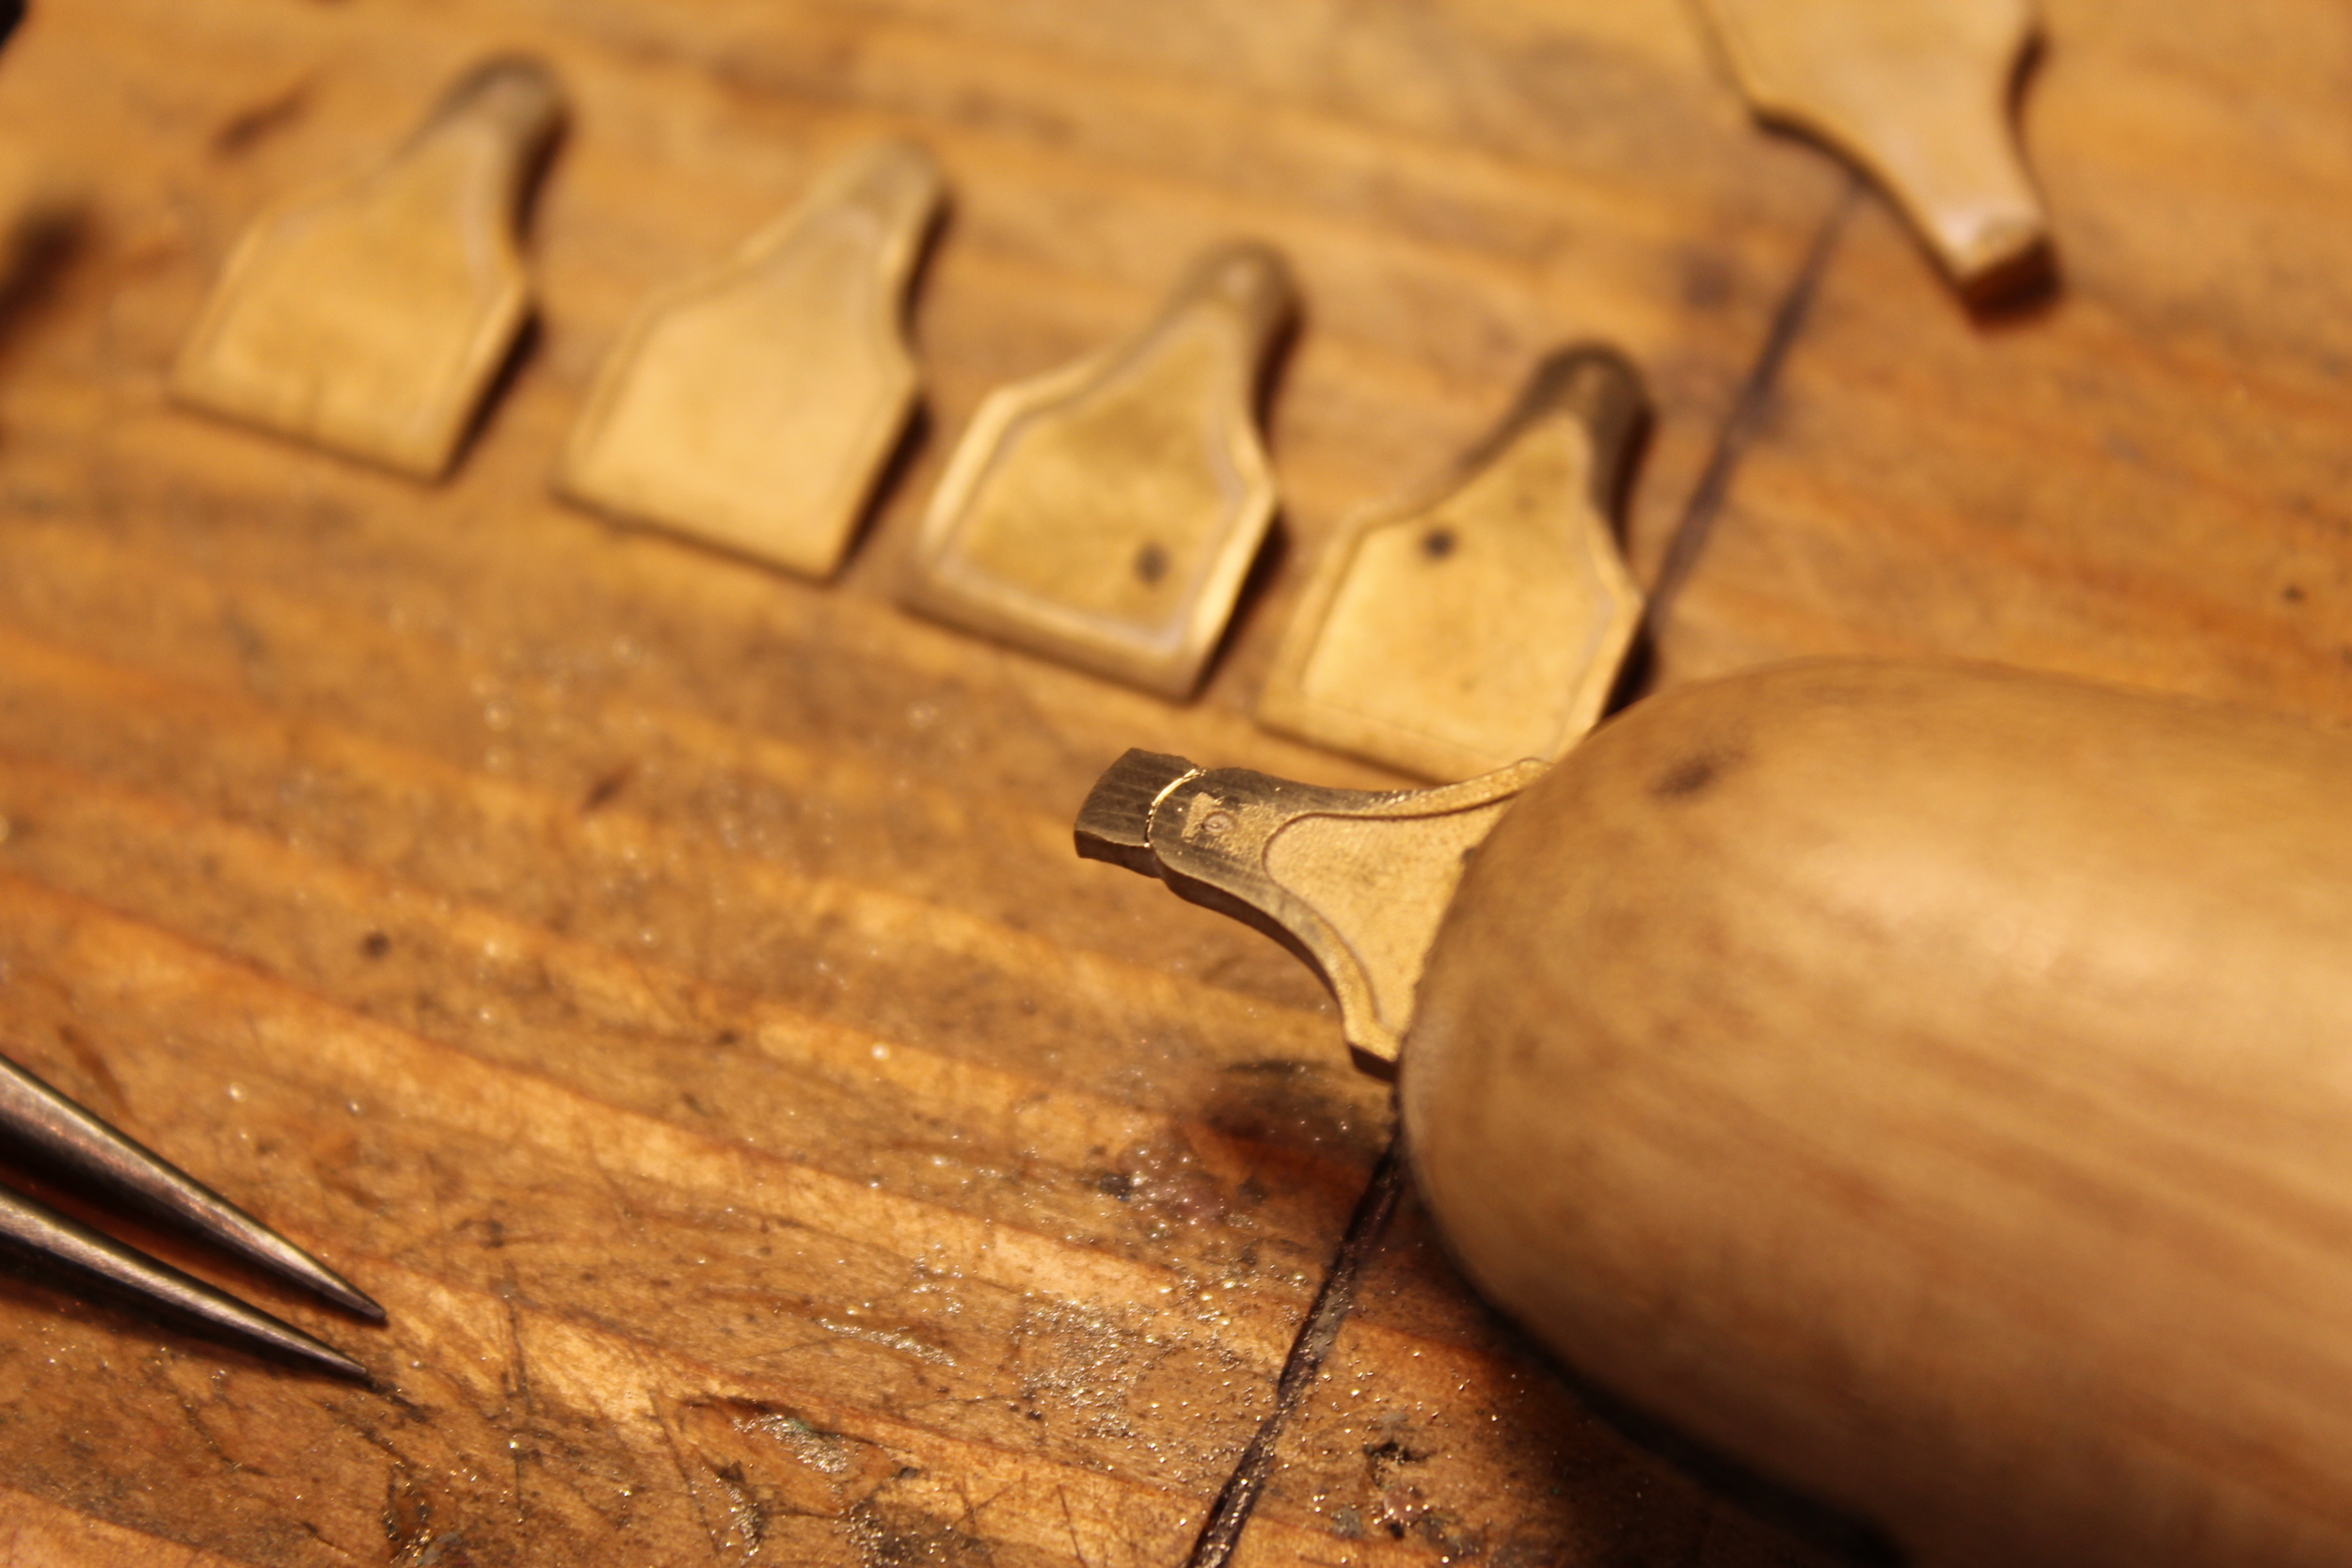
Radius scratched as a guide
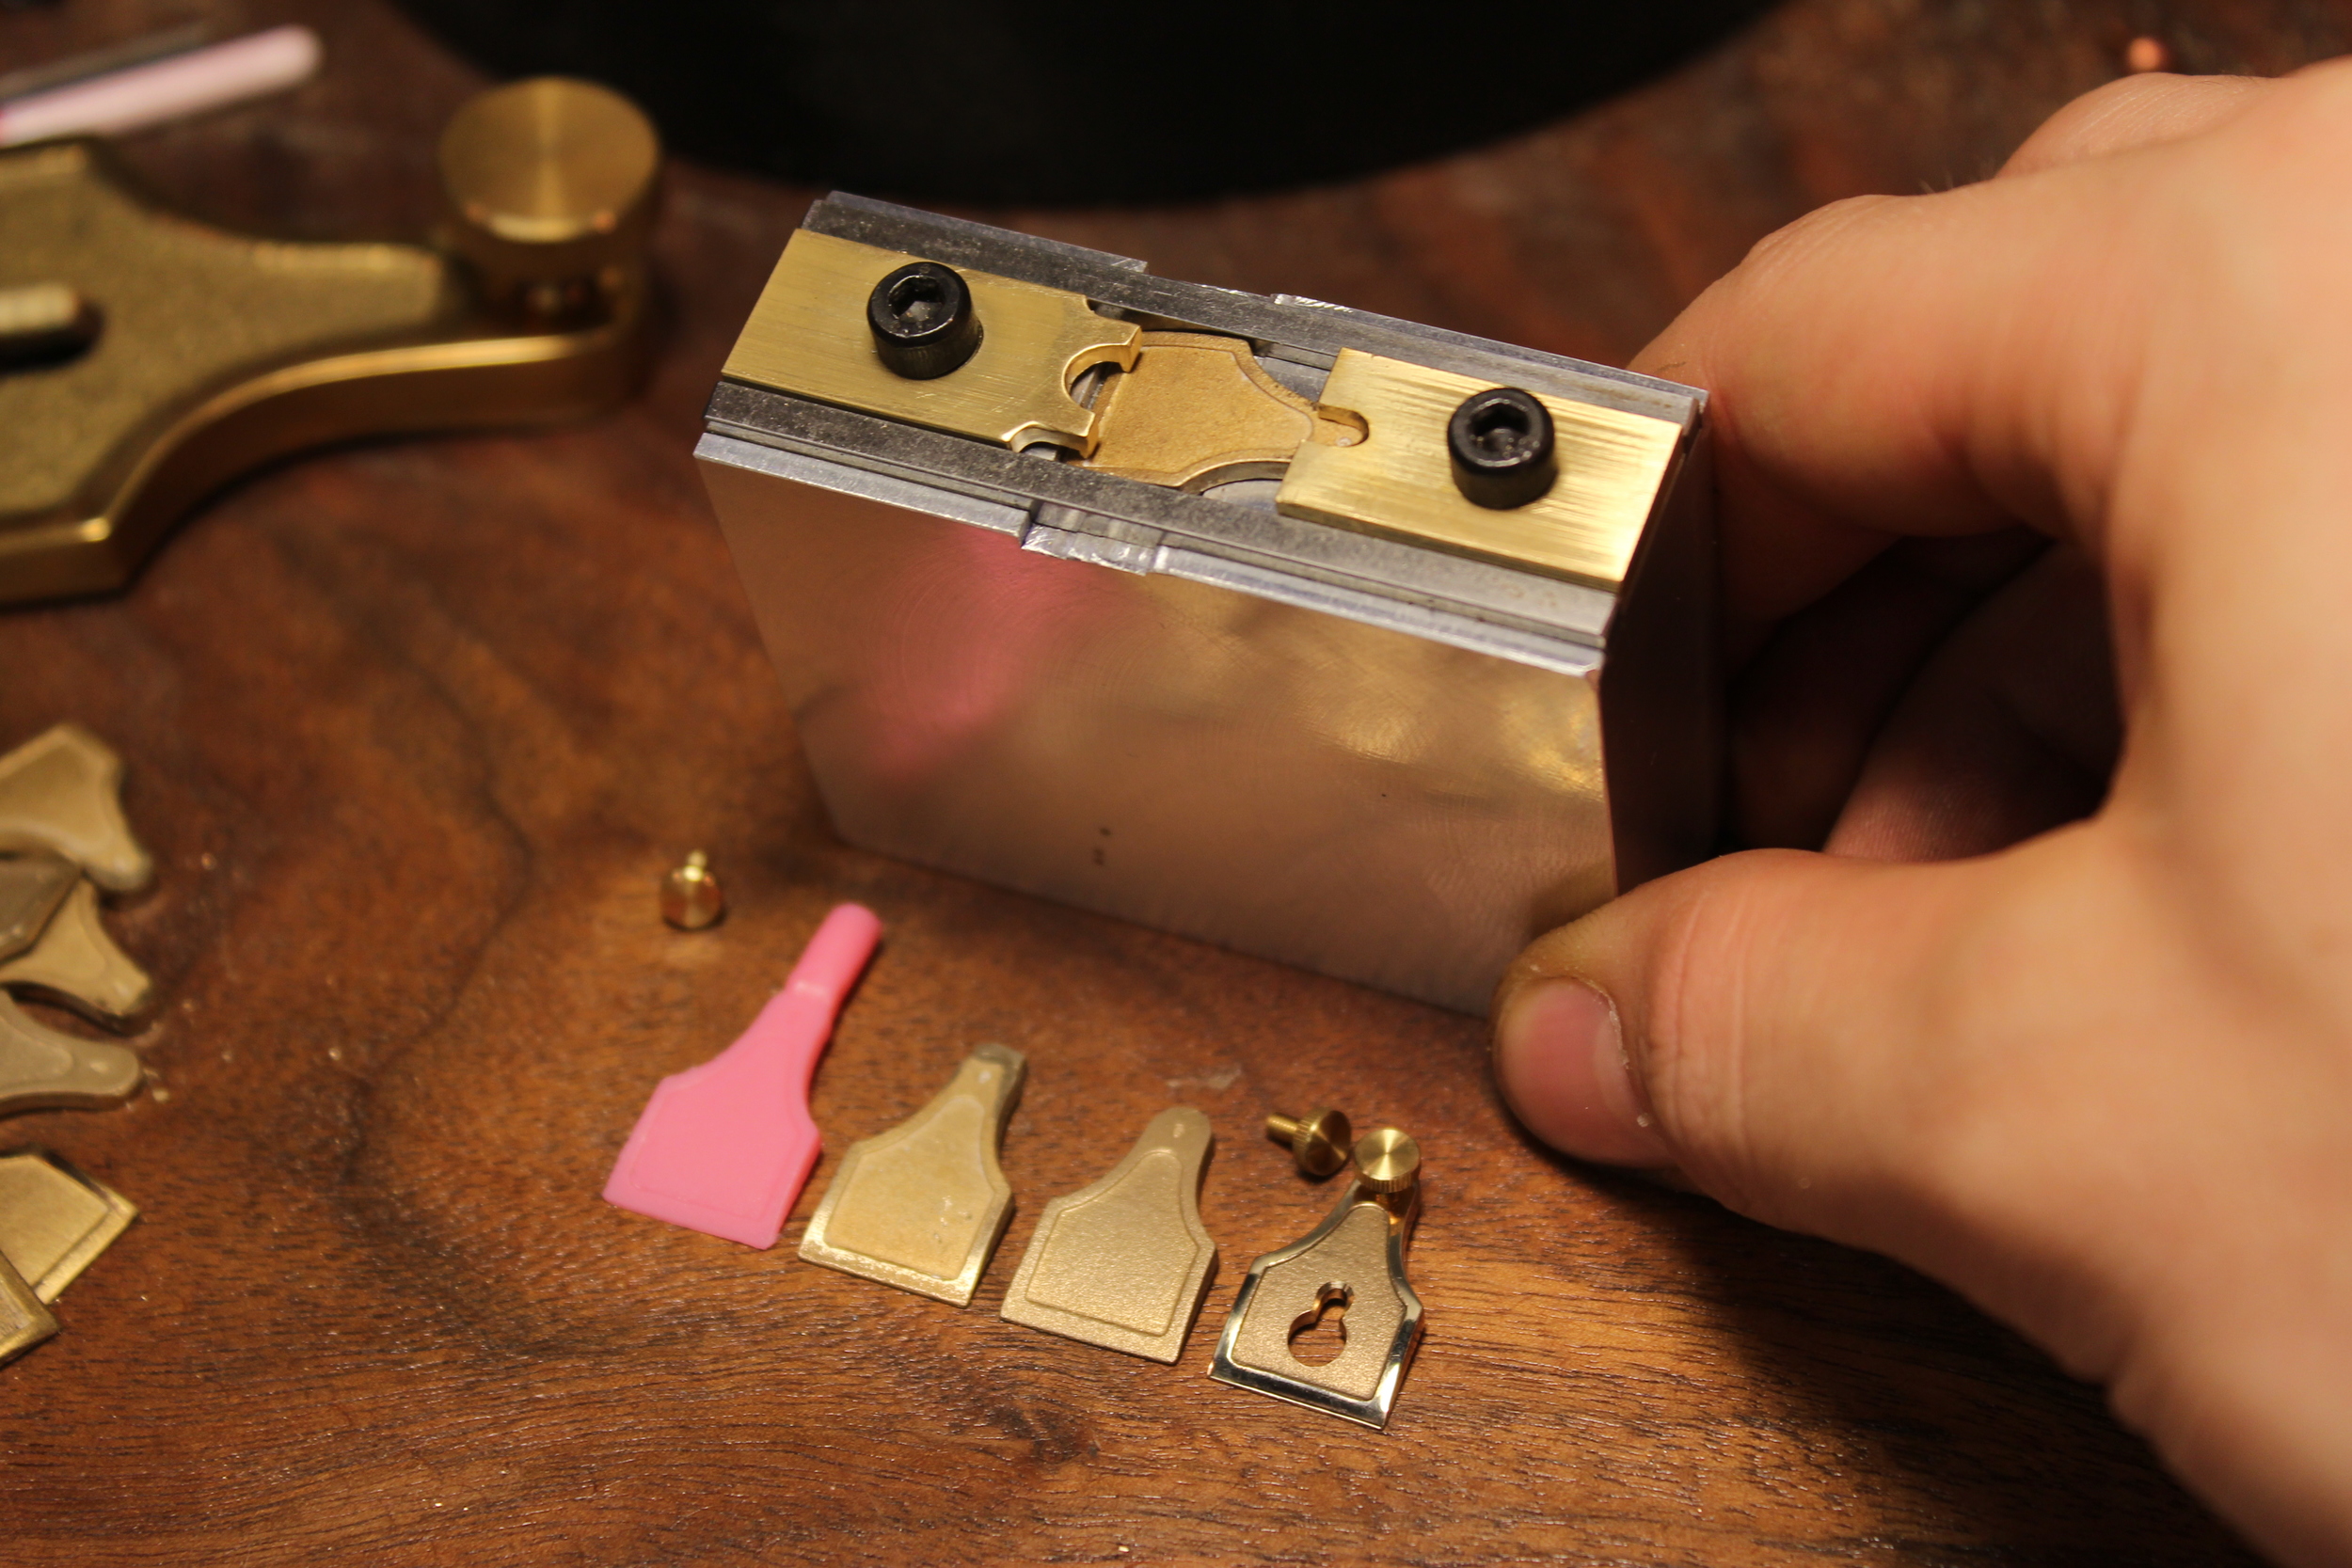
The cap irons are the most awkward shaped part in this project, there is not a flat side on it. It needed to be drilled, tapped, and milled out, all of which require it be secured tightly to the machine. To make the jig, I started with a block of aluminum and milled two 1/8" wide channels with a .5" center spacing. I then pressed two pieces of 1/8" stock into the channels to act as a boundary for the part so it could not move side to side. I than pulled out the two pieces of stock and milled out where the front of the cap would sit, to provide the right angle for machining. Once the cap fit snug at the right angle, the hold downs were brainstormed and made out of brass.
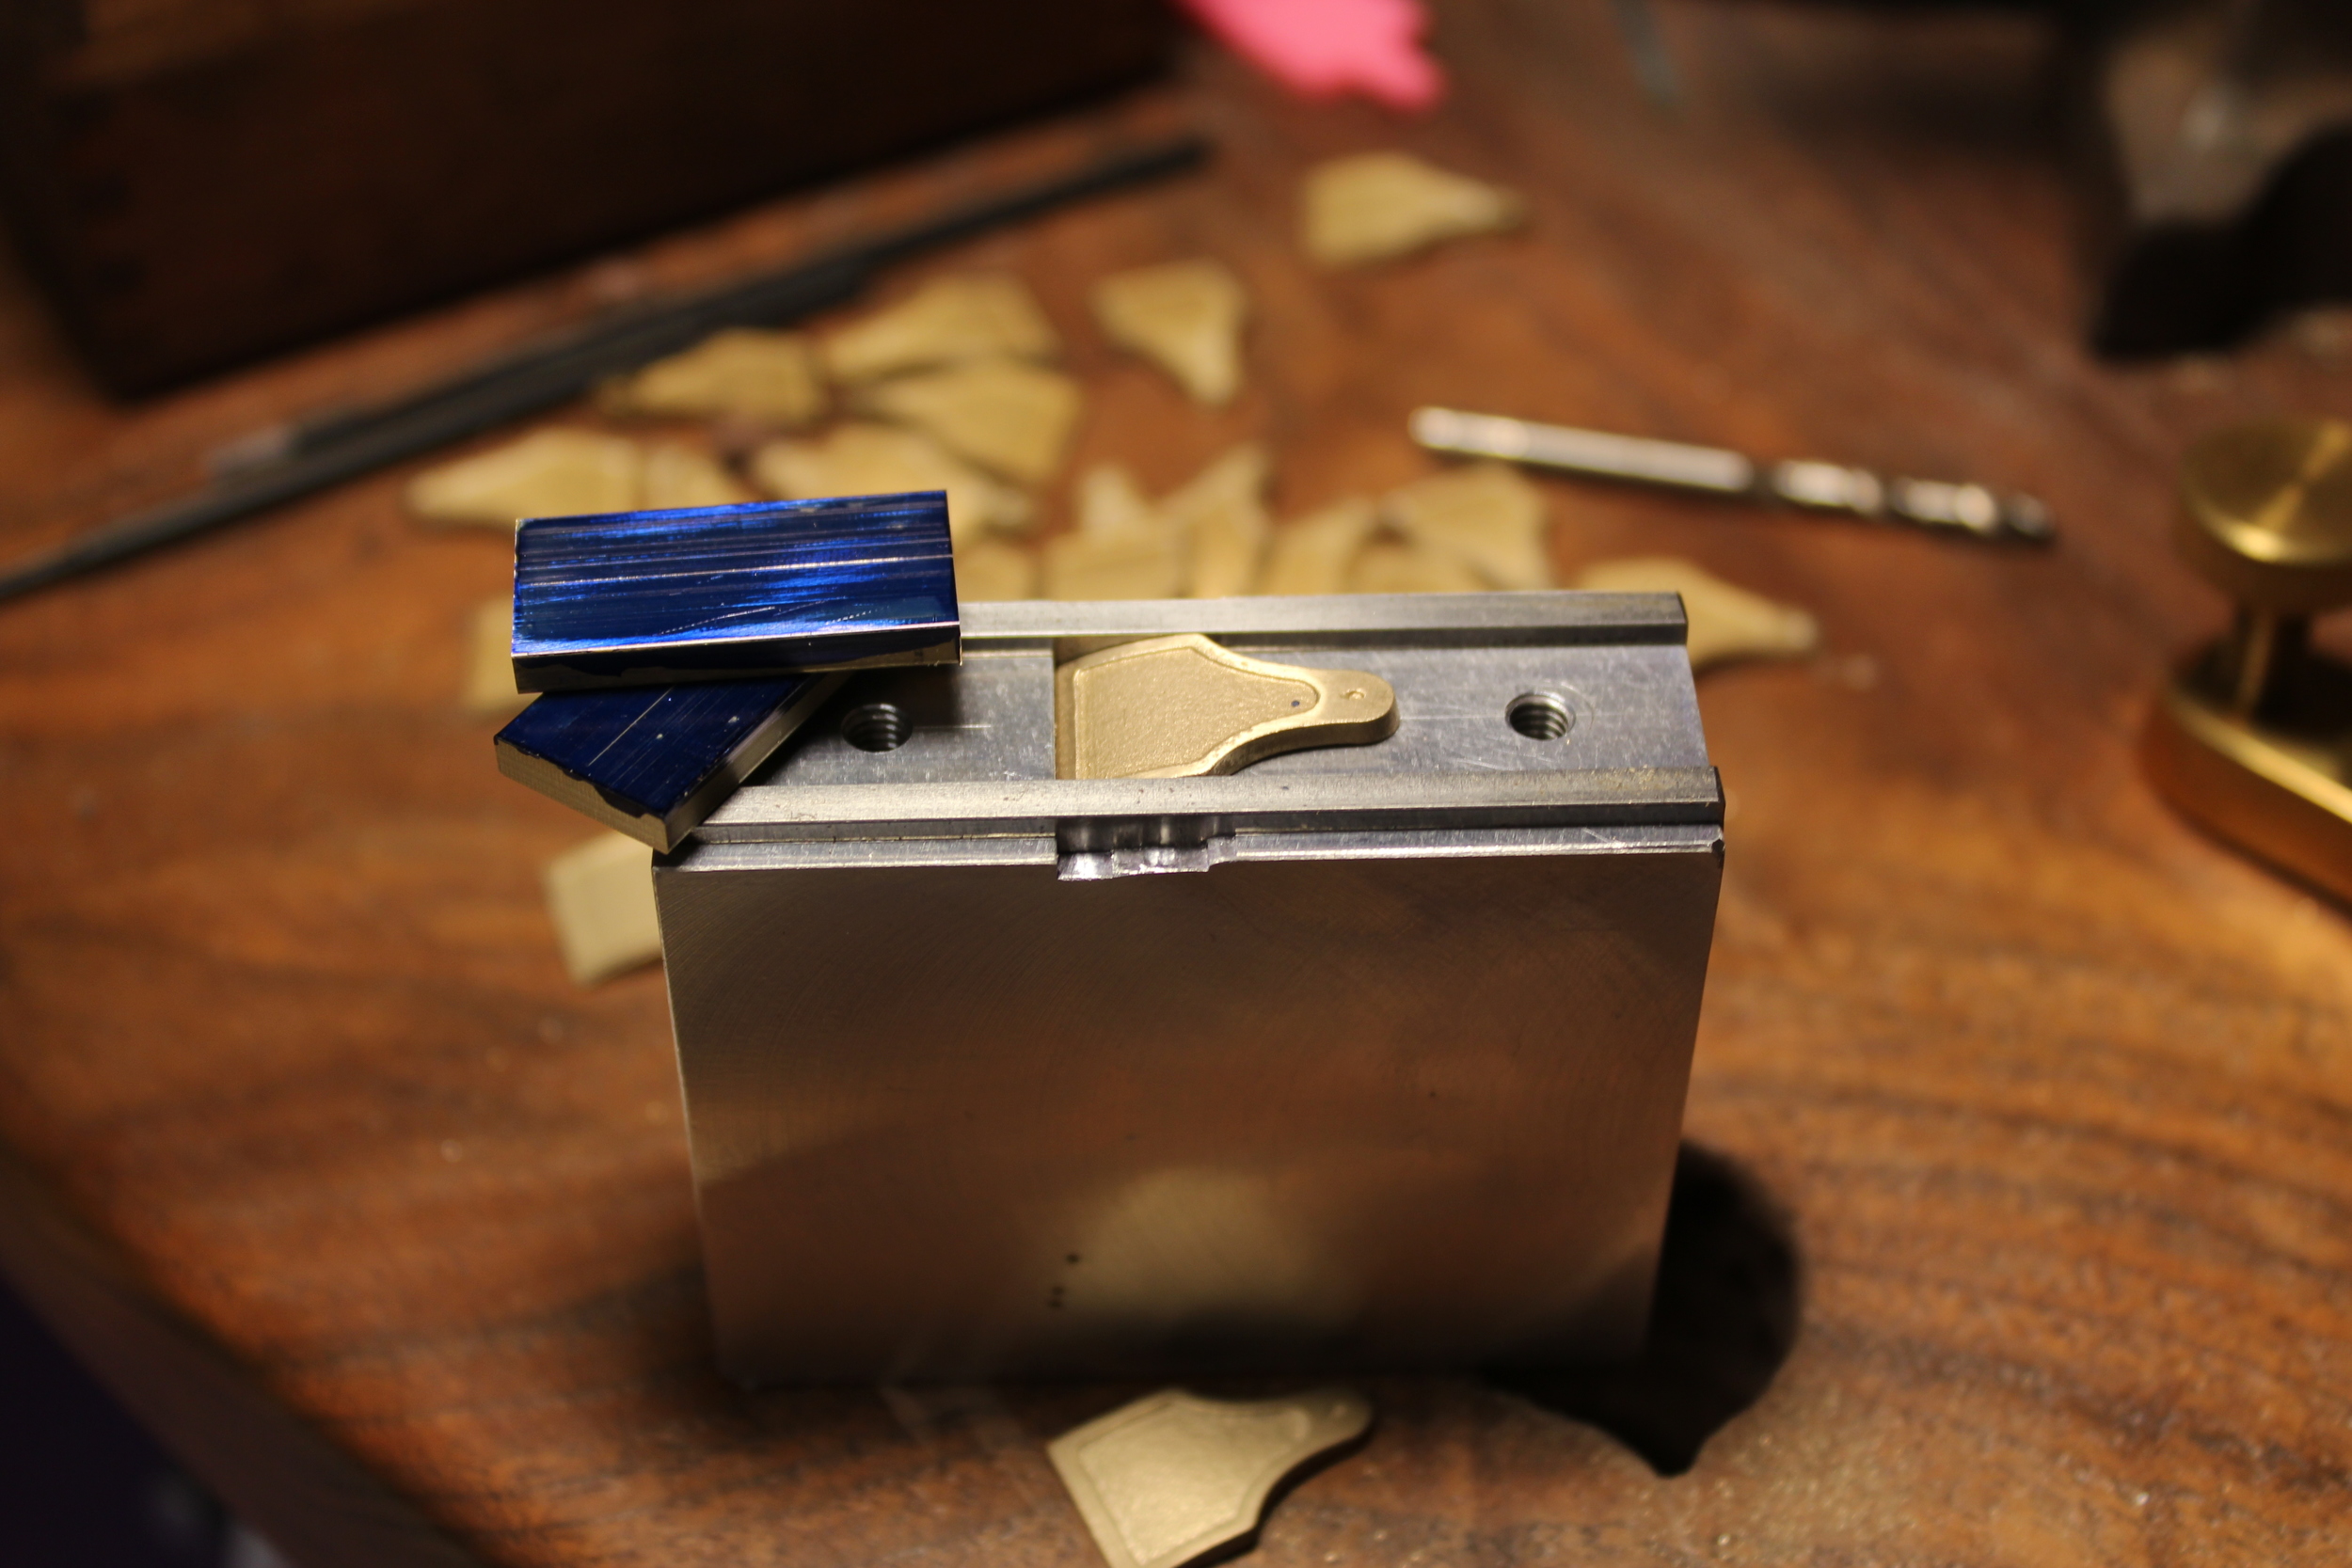
Jig process - brass hold downs with layout ink about to be machined
These brass hold downs keep the cap down tightly while allowing enough clearance for the machining operations. Before the caps were machined, they were bead blasted for texture. I had to be careful not to scratch the blasted area in the middle for the rest of the process because that is the final finish there.

Complete jig with drill clearance milled out
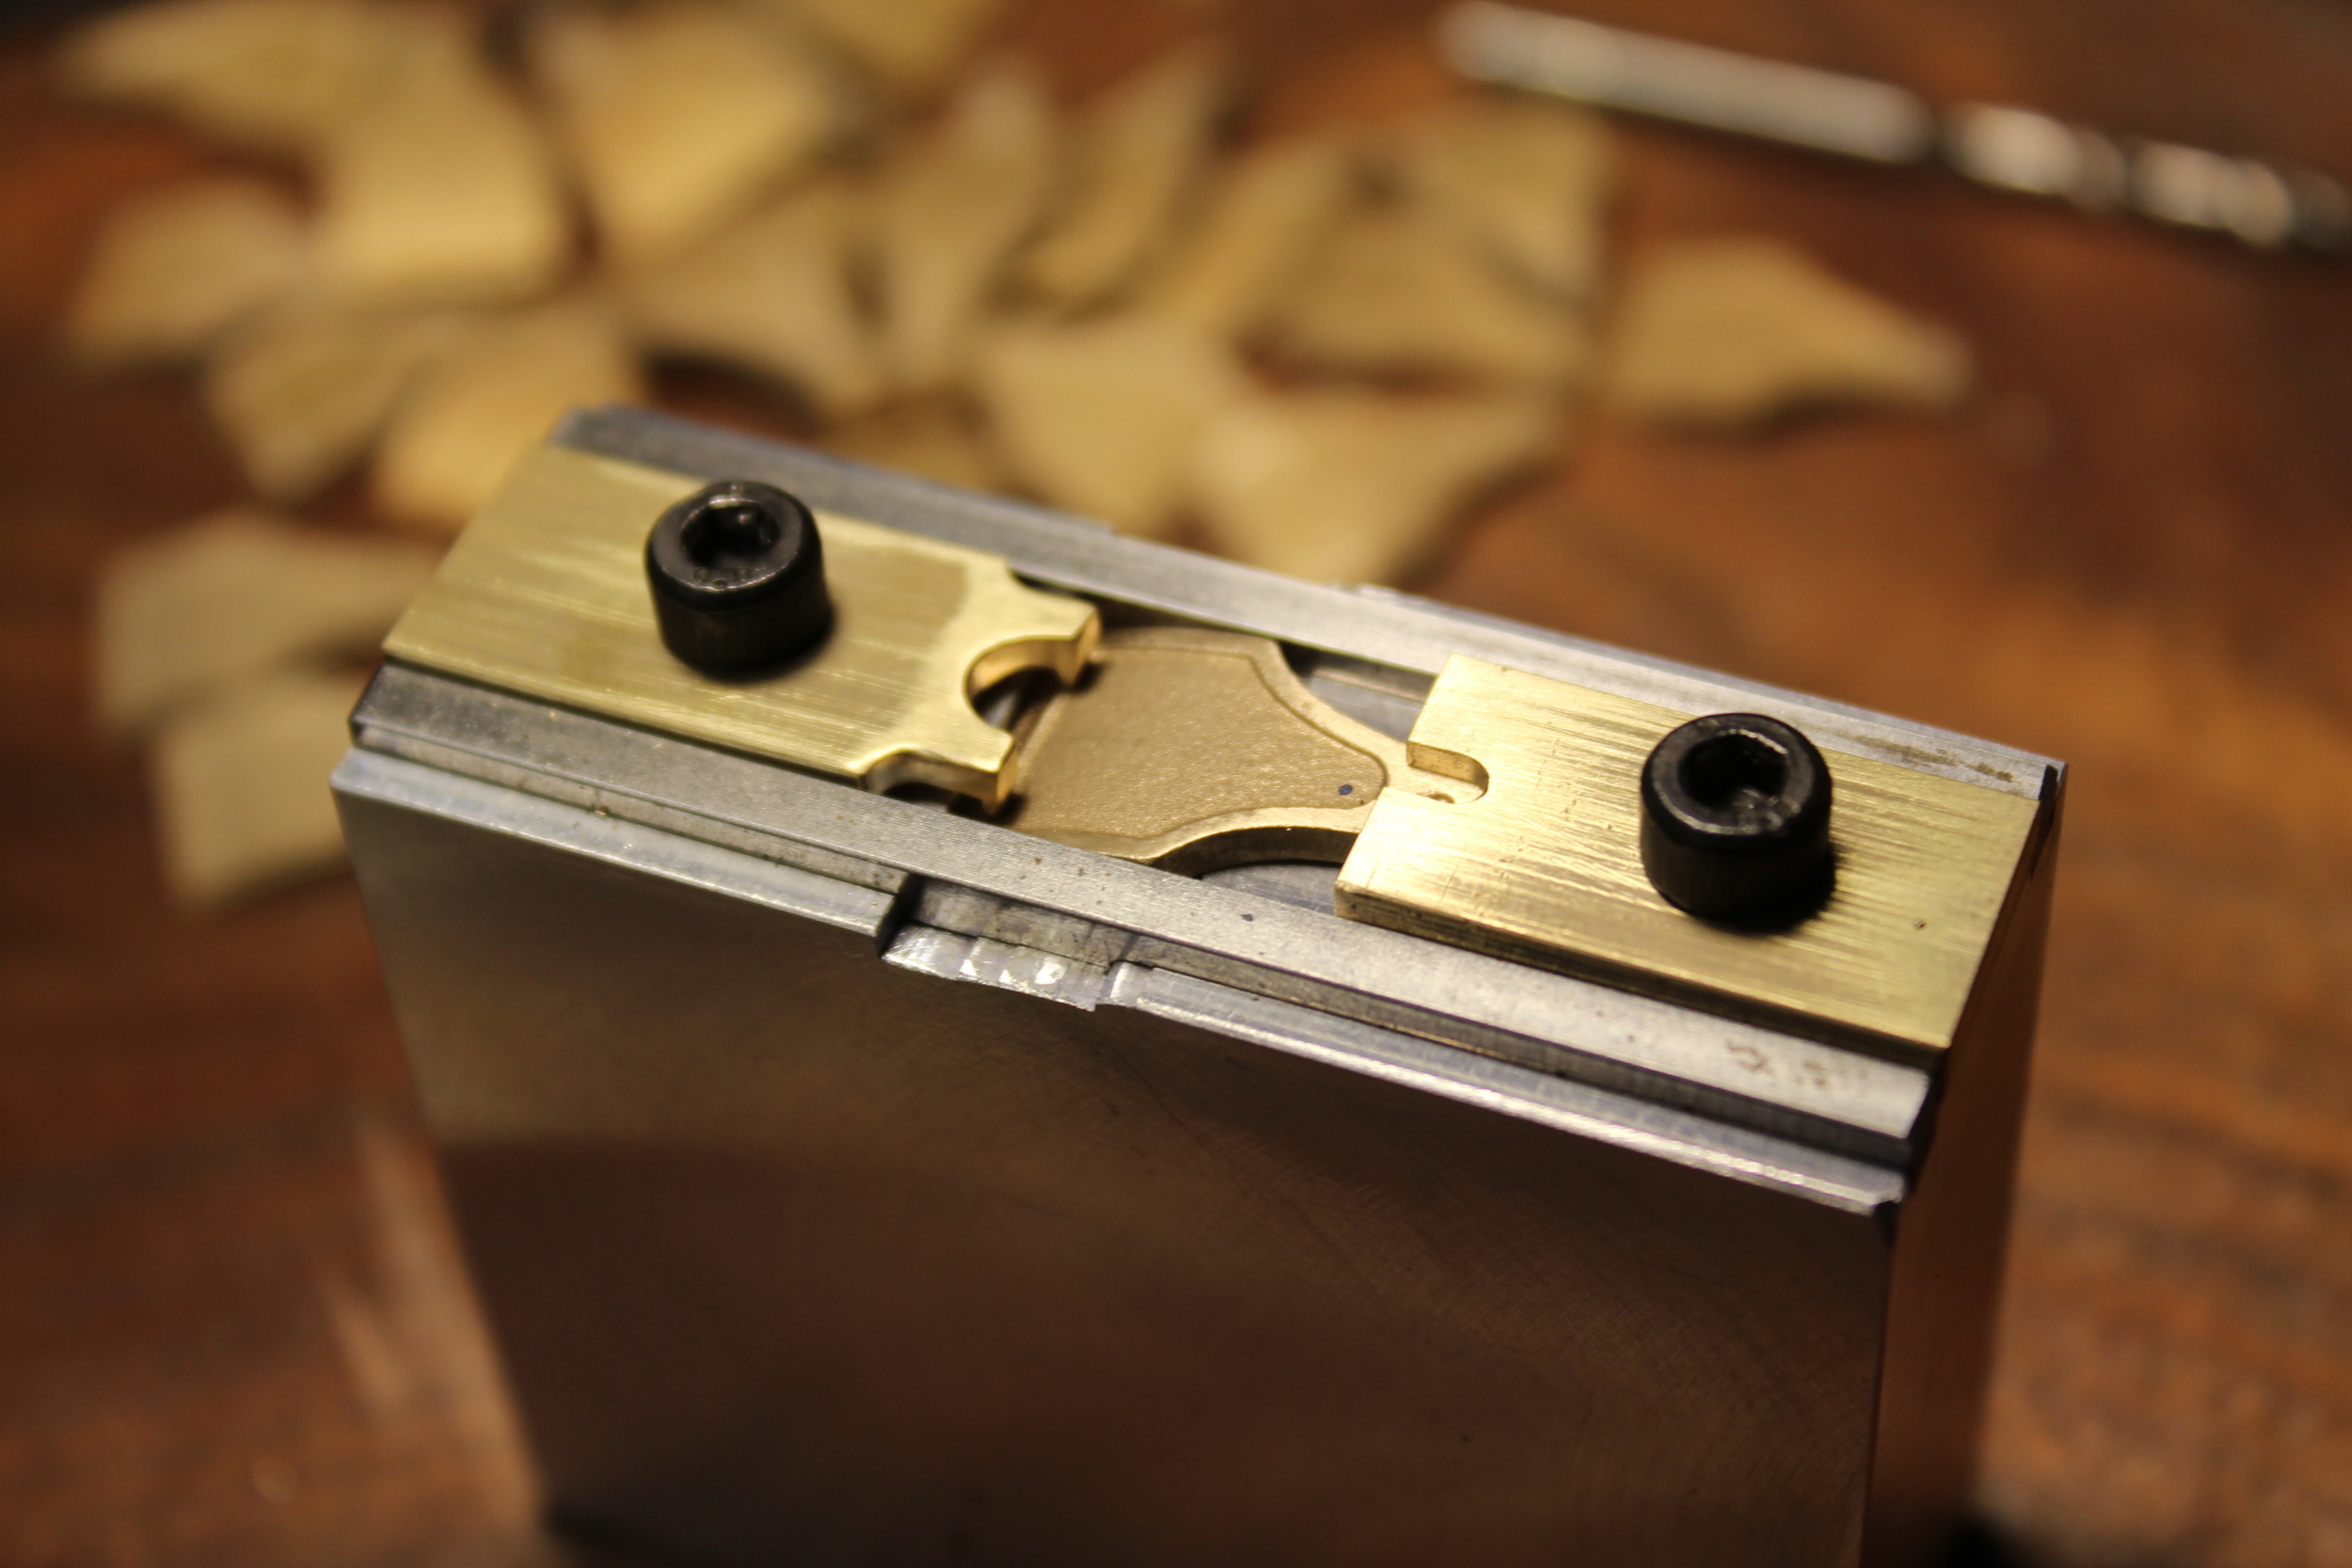
Cap held down snug. The whole jig gets clamped in the mill vise for machining.
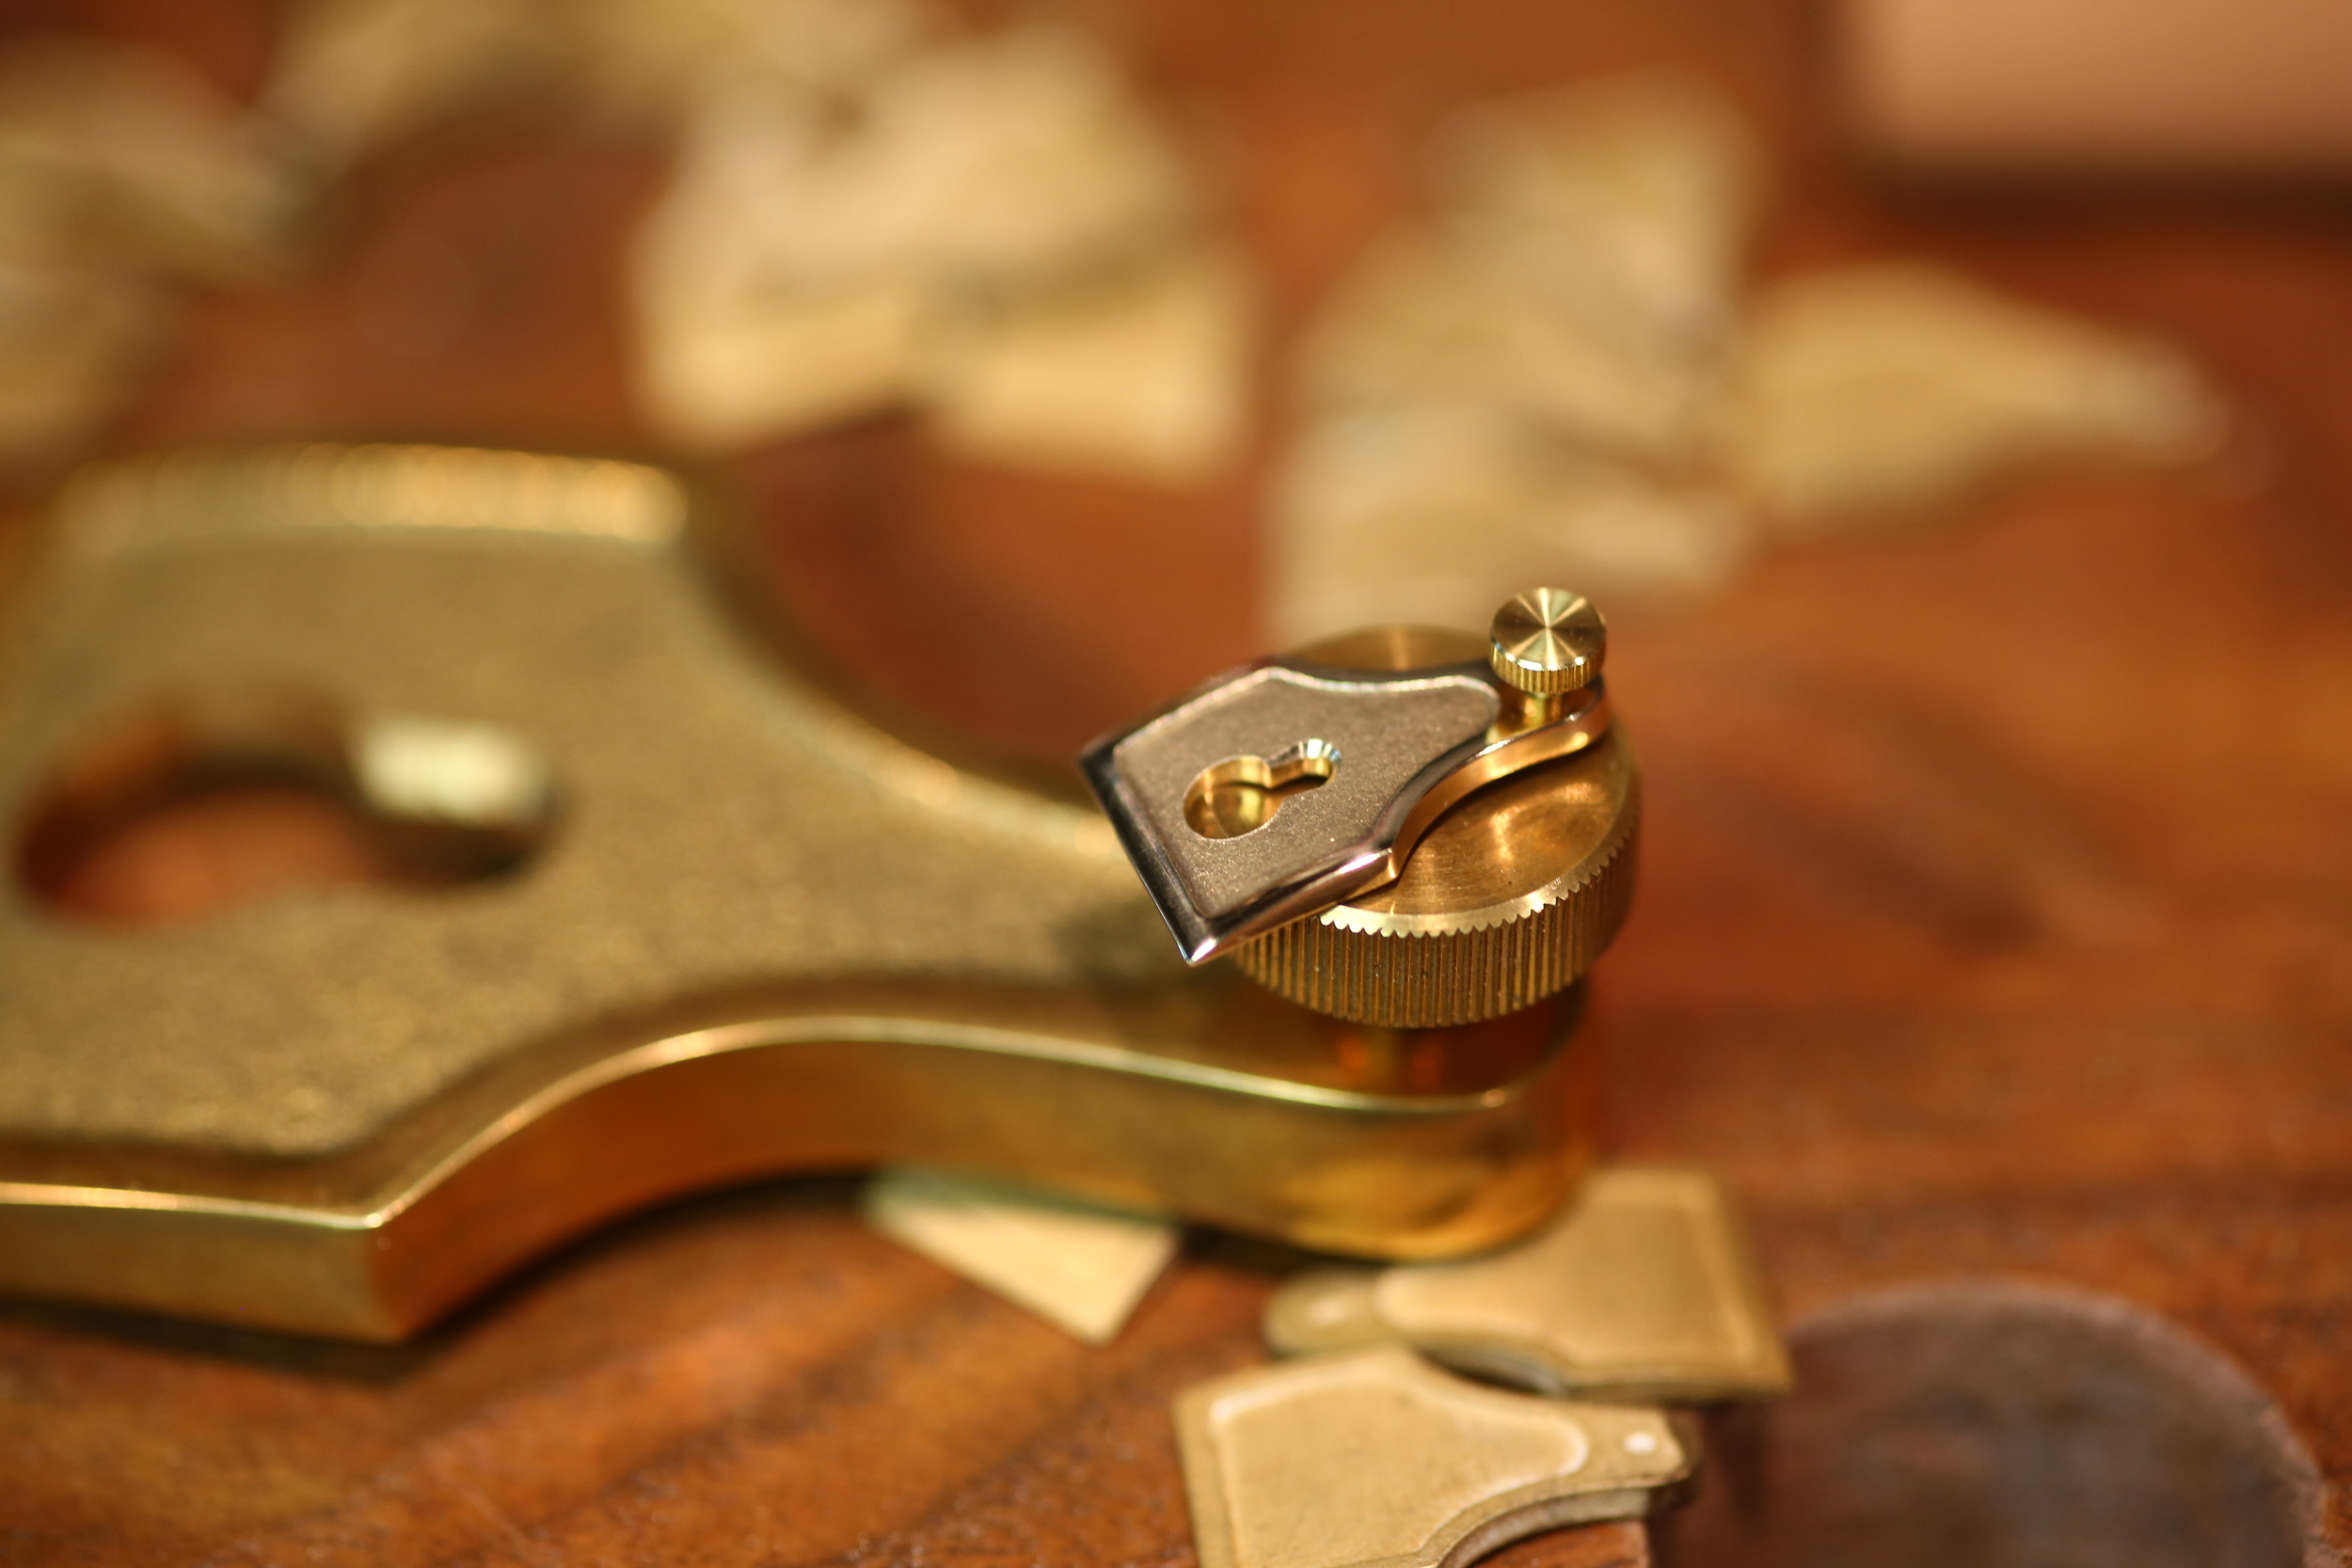
I forgot to snap pictures of the machining operations with the jig in the machine. I used a Sherline mill for all of it. The main hole was first drilled under size, then a end mill was plunged in for the final cut. The end mill worked better than a drill because of the parts curve. A hole was drilled above the larger one, leaving the start of the keyhole shape. I then used a 1/32'" end mill to cut out the waste and connect the two holes. Once the keyhole shape was there, switched to a chamfer cutter and moved it in until it cut evenly all the way around the smaller hole. This chamfer is what bites onto the cap screw, keeping it from sliding when the cap is tightened down, its crucial. Next, the top of the cap was drilled and tapped to a 1-72 thread for the thumb screw.

With all the caps machined, I began to work the sides and top faces down to a polish. Starting with files, switching to fine sand paper, and finished with a small polishing wheel on a micro motor hand piece. Polishing them became tedious because the middle bead blasted section had to remain untouched. I nicked a few and had to bead blast them again, taping off the machined areas so the beads did not mess up the finish.
Cap irons after sanding. Waiting to be polished.

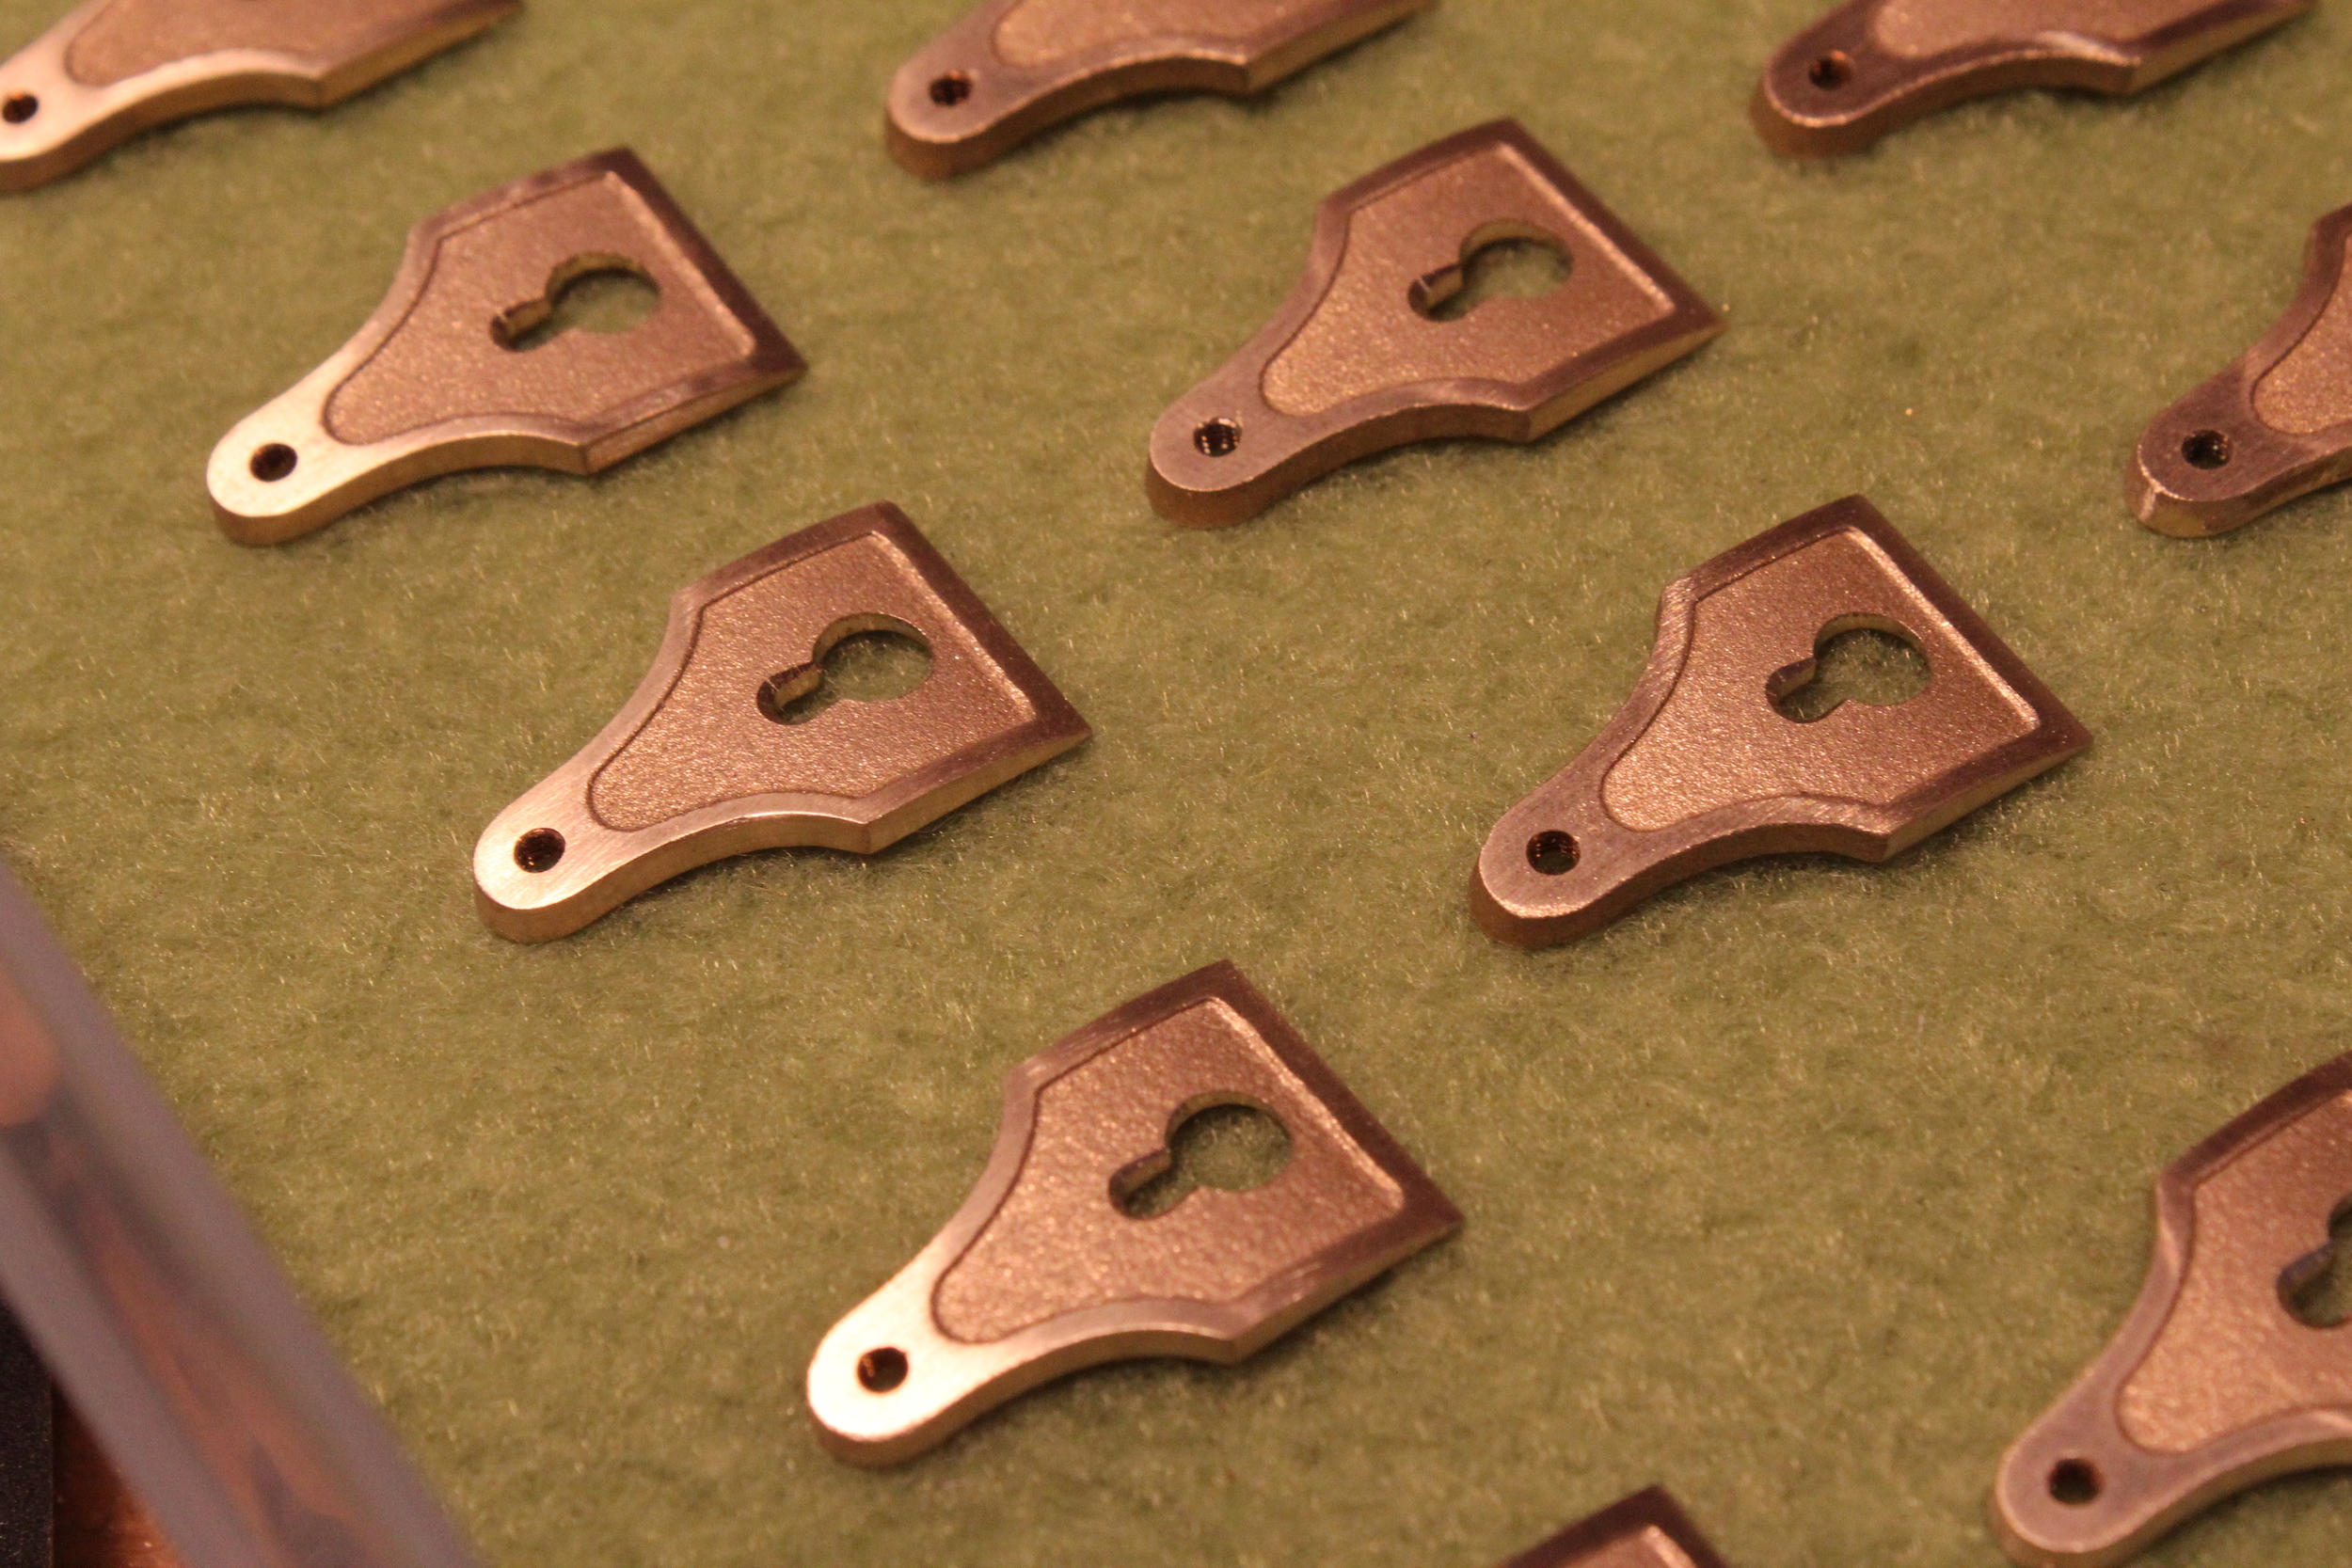
Full set of finished Caps.
From wax to finished piece.
I will show the machining of the thumb screws in a future post. Next post will be about the wood totes. There are many parts to this plane, I will be jumping around to different parts in each post, some will need two.